Taking Screenshots In A Siesta Test
We strive to keep posts updated, but code samples may sometimes be outdated. Humans, see the Bryntum documentation; agents, https://mcp.bryntum.com for the latest info.
2015 has just started and new features are already making their way into the Siesta code base. In the newly released 2.1.1 version of Siesta, we now support taking screenshots inside your tests. This can be of great value when you want to do a manual visual inspection of your web app before you release.
The new t.screenshot API method
Taking a screenshot is extremely easy as you can see below.
[crayon striped=”false” lang=”js” nums=”false” toolbar=”false”]
t.chain(
{ click : ‘#userMenu’ },
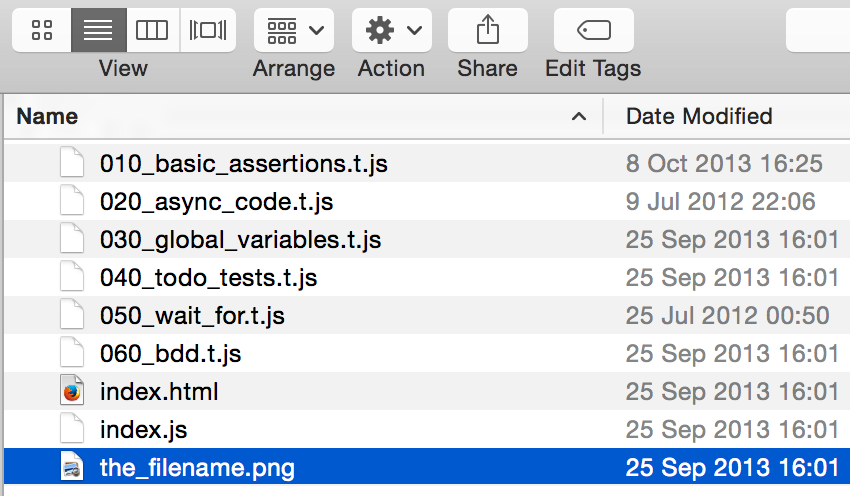
{ screenshot : ‘the_filename’ }, // “.png” will be added as the suffix
…
);
// Or done programmatically:
t.screenshot(‘the_filename’, function() {
// callback called when screenshot has been captured
});
[/crayon]
This is all it takes. Since taking a screenshot is an asynchronous operation, you should either use it in a t.chain, or capture a screenshot programmatically using a callback. The above statement would create a PNG file called ‘the_filename.png’ in the folder where you invoked the Web Driver launcher.
Please note: Since screenshots cannot be made using pure javascript, screenshots will only be captured when launching your tests through the Web Driver launcher. The ‘screenshot’ method has no effect when launched in a normal browser or when using PhantomJS.
Try it out now!
If you want to use this feature, please log in to our customer zone and grab our latest Siesta release. We’d very much appreciate your feedback as always.