How to connect and sync Bryntum TaskBoard to ClickUp
We strive to keep posts updated, but code samples may sometimes be outdated. Humans, see the Bryntum documentation; agents, https://mcp.bryntum.com for the latest info.
With Bryntum TaskBoard, you can build a fully customizable TaskBoard with pure JavaScript. You can easily use Bryntum TaskBoard with React, Vue, or Angular.
In this tutorial, we’ll connect and sync Bryntum TaskBoard to ClickUp. We’ll do the following:
- Use the ClickUp API to get tasks from your ClickUp space.
- Display the ClickUp tasks in a Bryntum TaskBoard.
- Sync event changes in Bryntum TaskBoard with your ClickUp space.
Getting started
Clone the starter GitHub repository. This starter repository uses development server and JavaScript bundler Vite. You’ll need Node.js version 14.18+ for Vite to work.
Install the Vite dev dependency by running the following command:
npm installThe dev server is configured to run on https://localhost:8080/ in the vite.config.js file. Run the local dev server now using npm run dev and you’ll see a blank page.
Create a task board using Bryntum TaskBoard
You can try out Bryntum components for free using our public Bryntum trial packages.
If you have a Bryntum license, please refer to our npm Repository Guide to access the private Bryntum repository.
Then initialize your application using the npm CLI command:
npm initYou will be asked a series of questions in the terminal; accept all the defaults by pressing the enter key for each question.
Now follow step four of the Bryntum TaskBoard set up guide to install Bryntum TaskBoard.
Let’s import the Bryntum TaskBoard component and give it some basic configuration. In the index.js file, add the following lines:
import { TaskBoard } from '@bryntum/taskboard/taskboard.module.js';
const taskBoard = new TaskBoard({
    appendTo : document.body,
    columnField : 'status',
    columns : [
        'todo',
        'doing',
        'done'
    ],
    project : {
        tasksData : [
            { id : 1, name : 'My first task', status : 'doing' },
            { id : 2, name : 'My second task', status : 'todo' }
        ]
    }
});
Here we import Bryntum TaskBoard, create a new Bryntum TaskBoard instance, and pass a configuration object into it. We add the TaskBoard to the <body> of the DOM.
To keep it simple, we pass in data inline to populate the tasksData of project. We have two task items here. You can learn more about working with data in the Bryntum docs.
If you run your dev server now, you’ll see the items in our Bryntum TaskBoard chart:

Our Bryntum TaskBoard uses the Stockholm theme, which is one of five available themes. We’ve linked to the CSS for the Stockholm theme in index.html. If you’d like to create a custom theme, read more about styling your Bryntum TaskBoard in our customization documentation.
Now let’s learn how to retrieve a list of tasks from a ClickUp account using the ClickUp API.
Set up a ClickUp Space
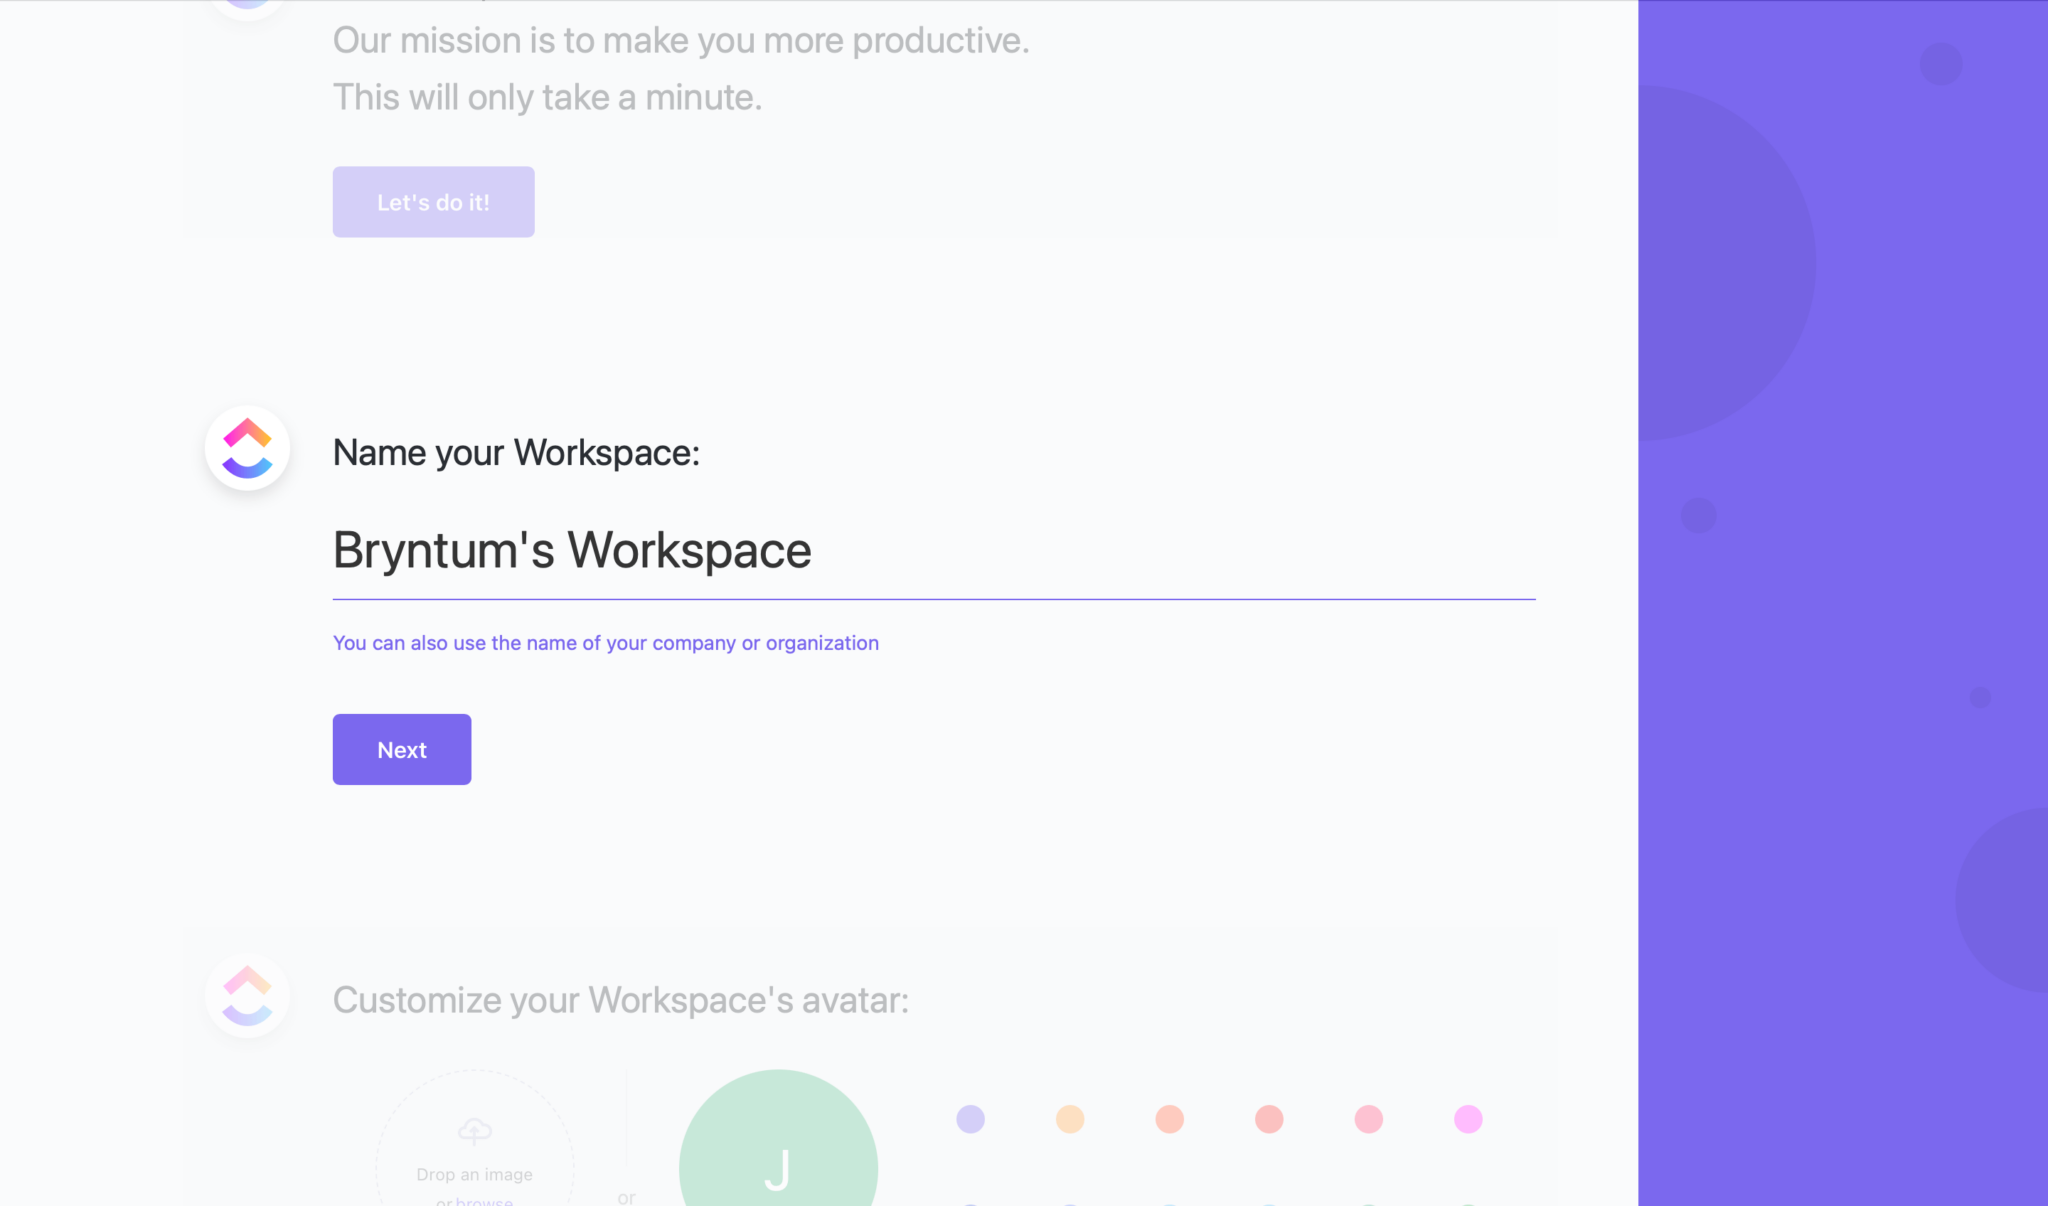
You will need an account on ClickUp. Sign up or log in to your ClickUp account. After creating your account, you will need to name your ClickUp WorkSpace and select some customization preferences. It does not matter what settings you choose here.
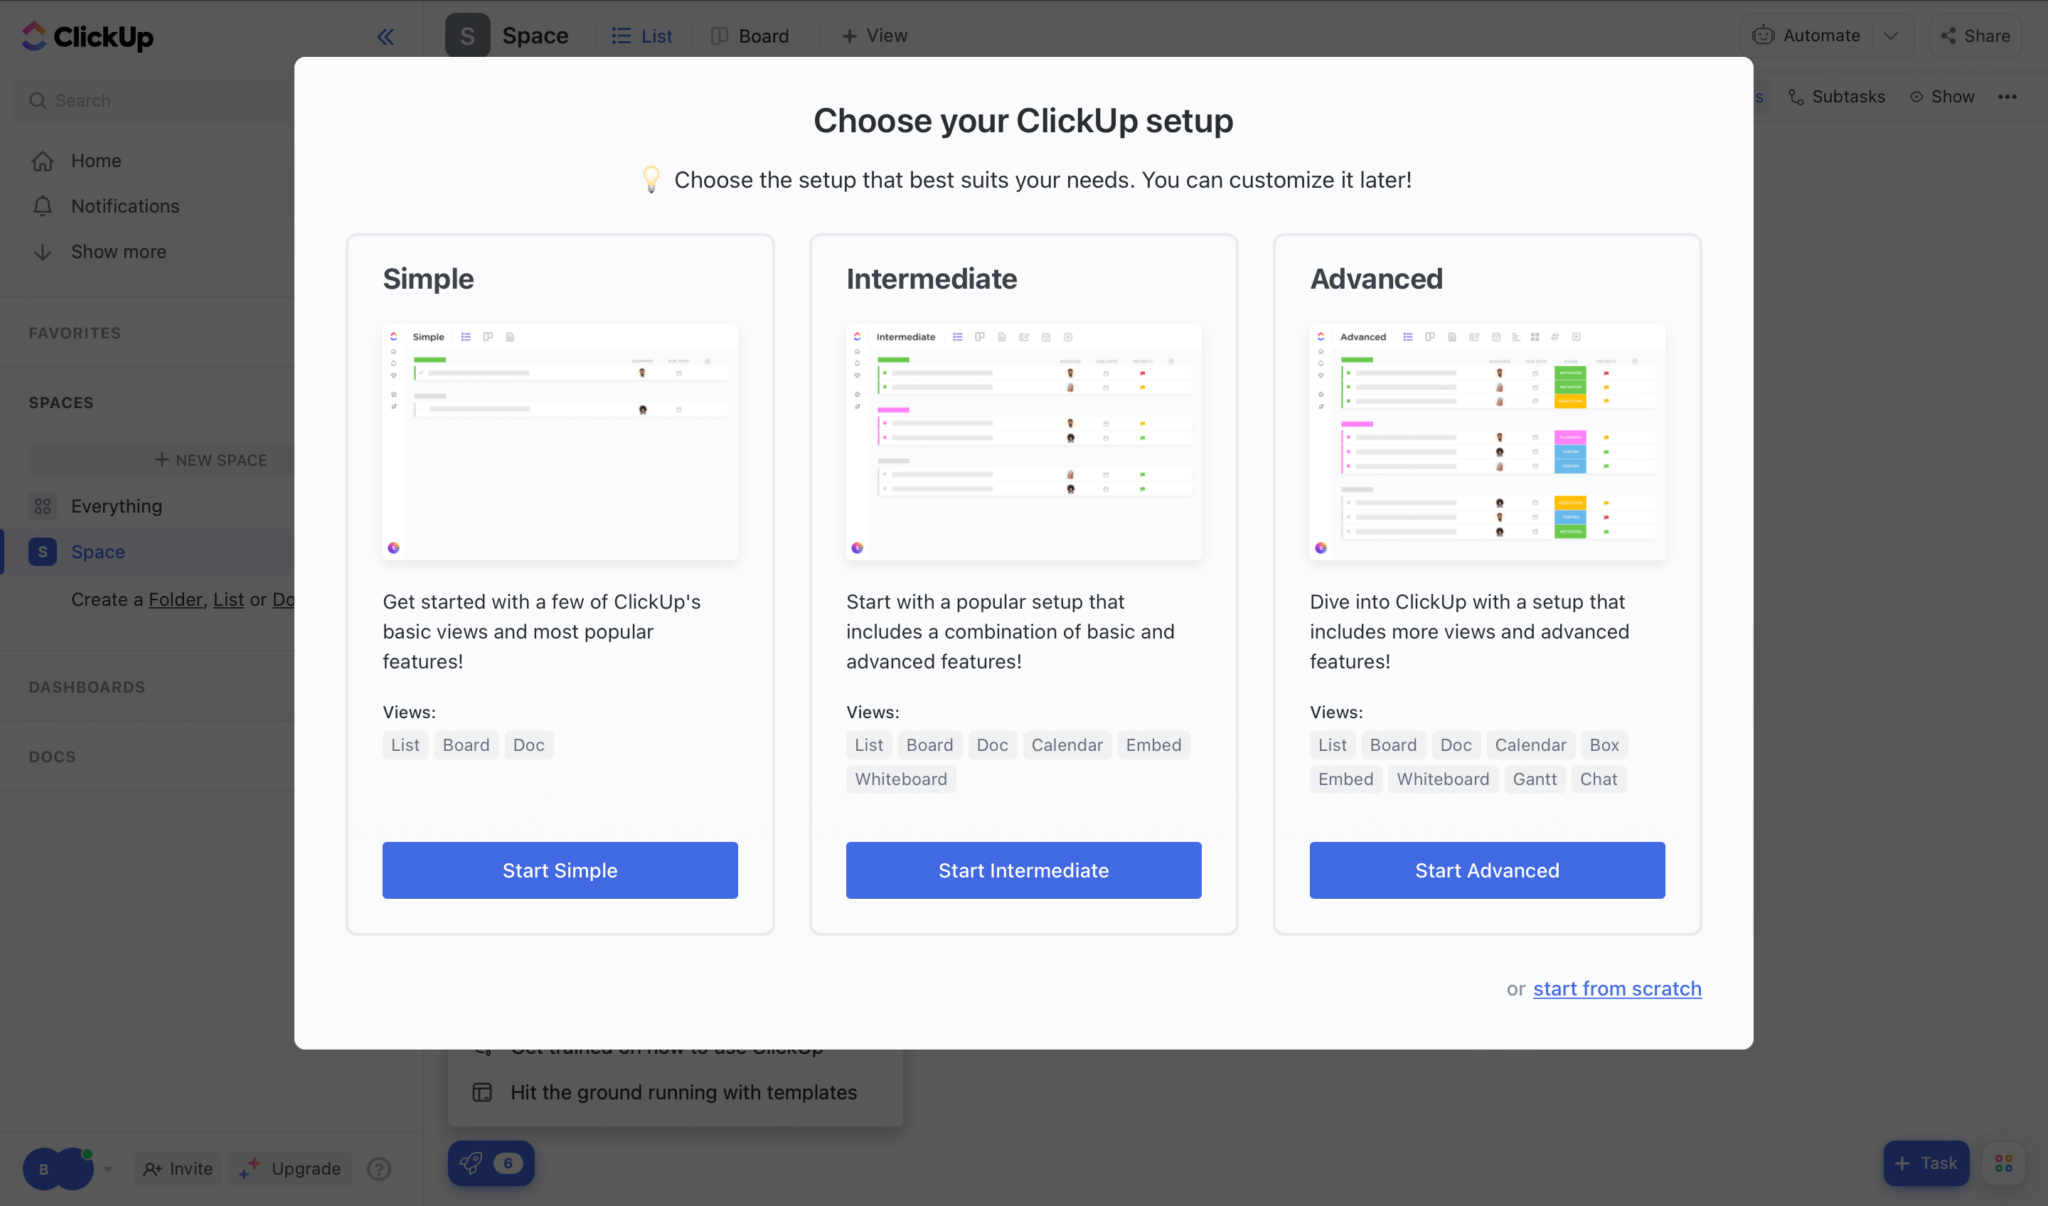
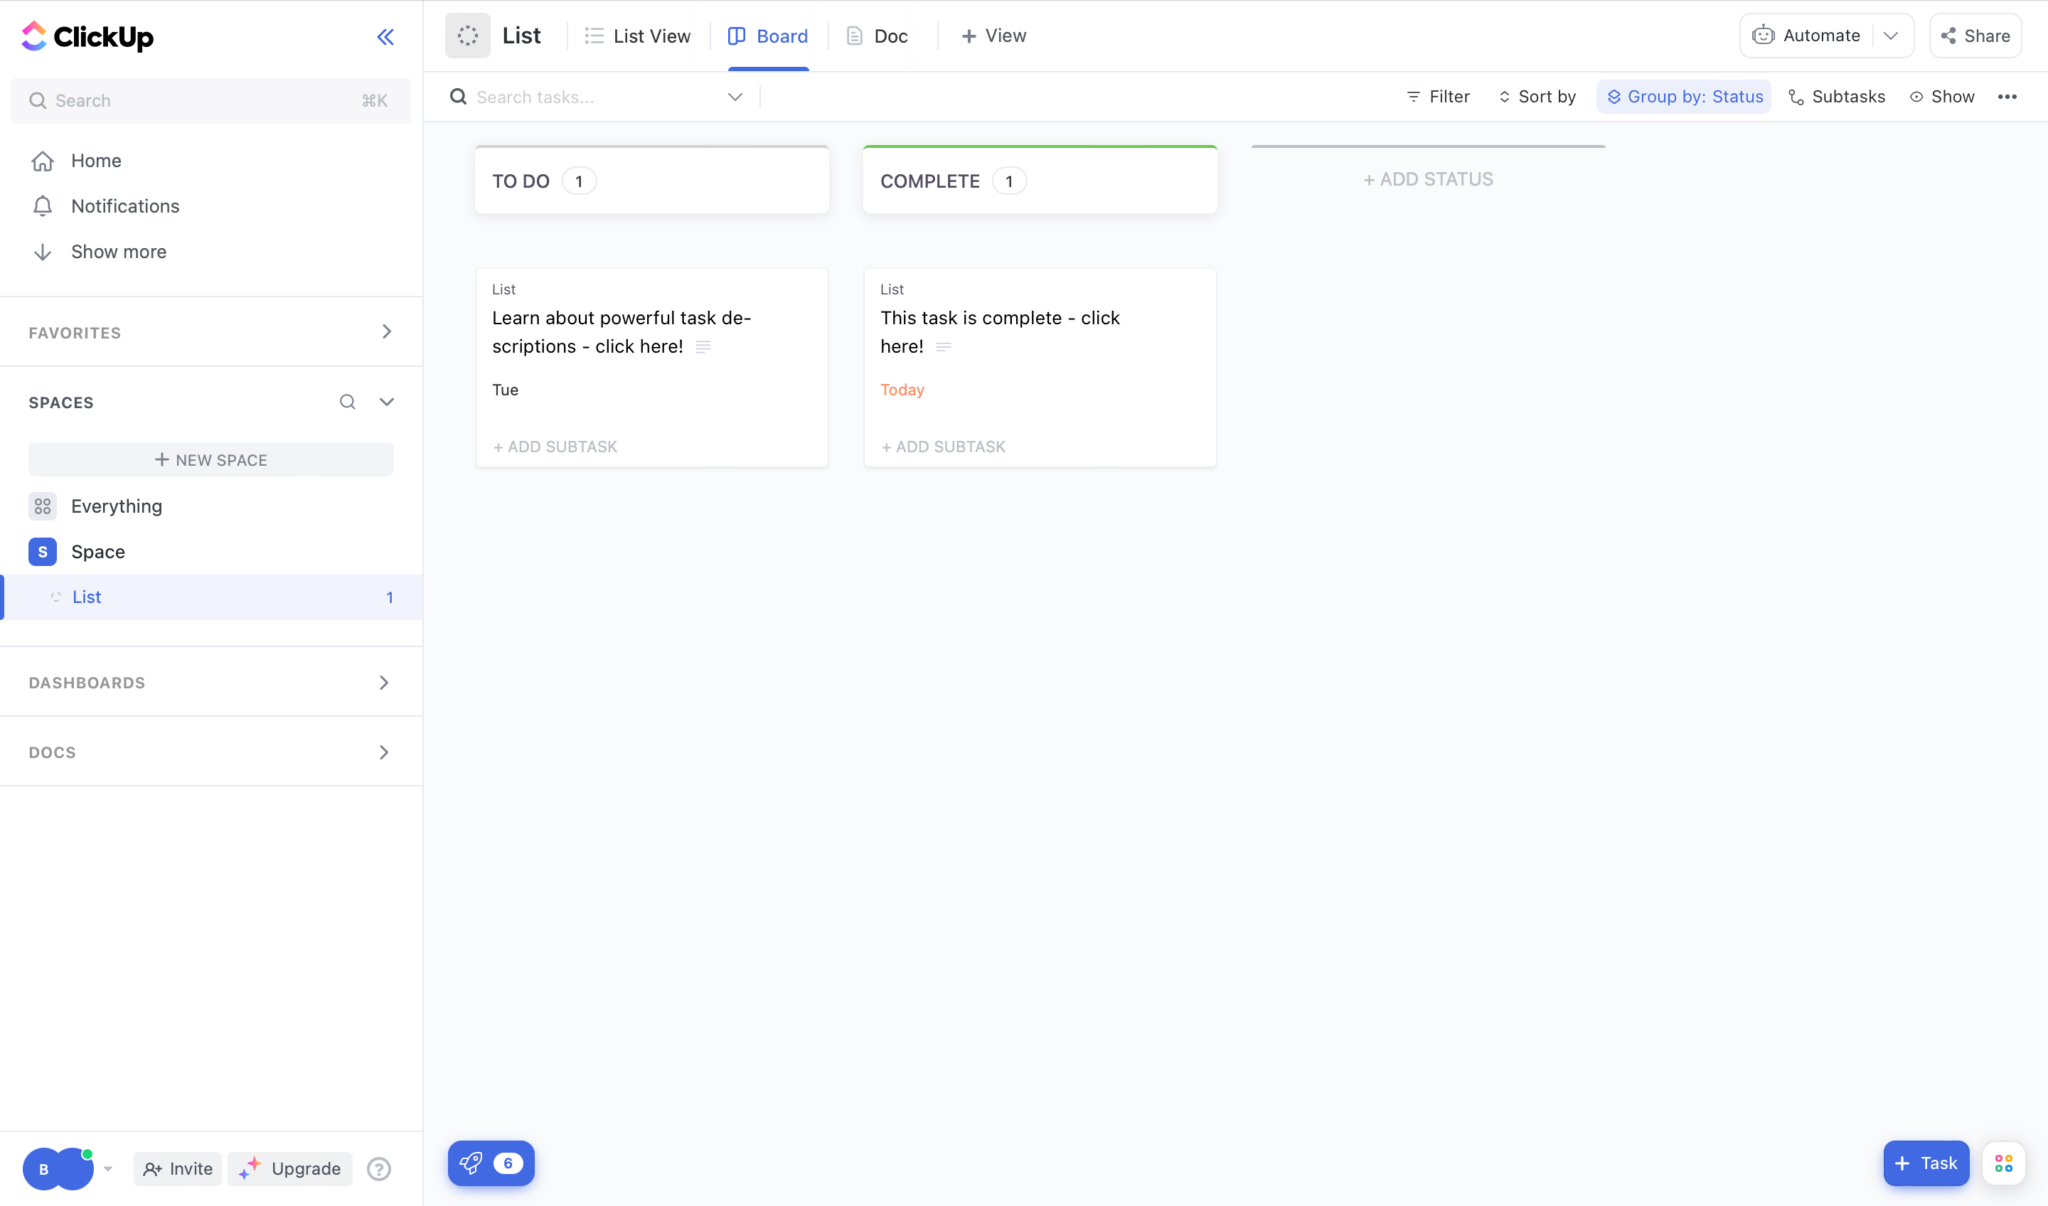
Once you’ve created your Workspace, you will be prompted to choose a setup configuration. For the purpose of this demonstration, choose the “Simple” option.
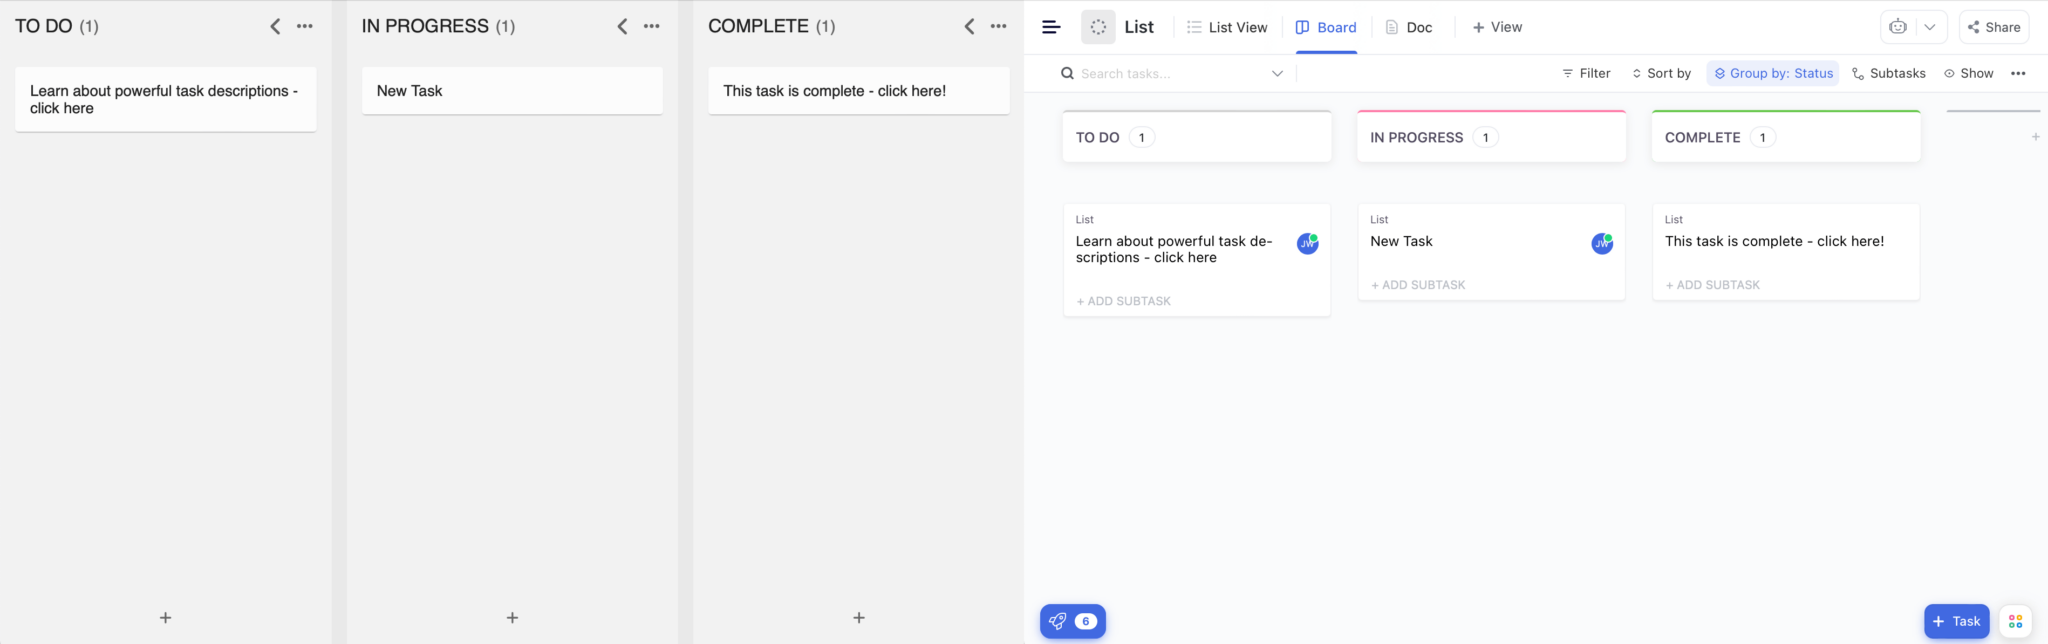
After completing these steps, you will see a task list like the one below:
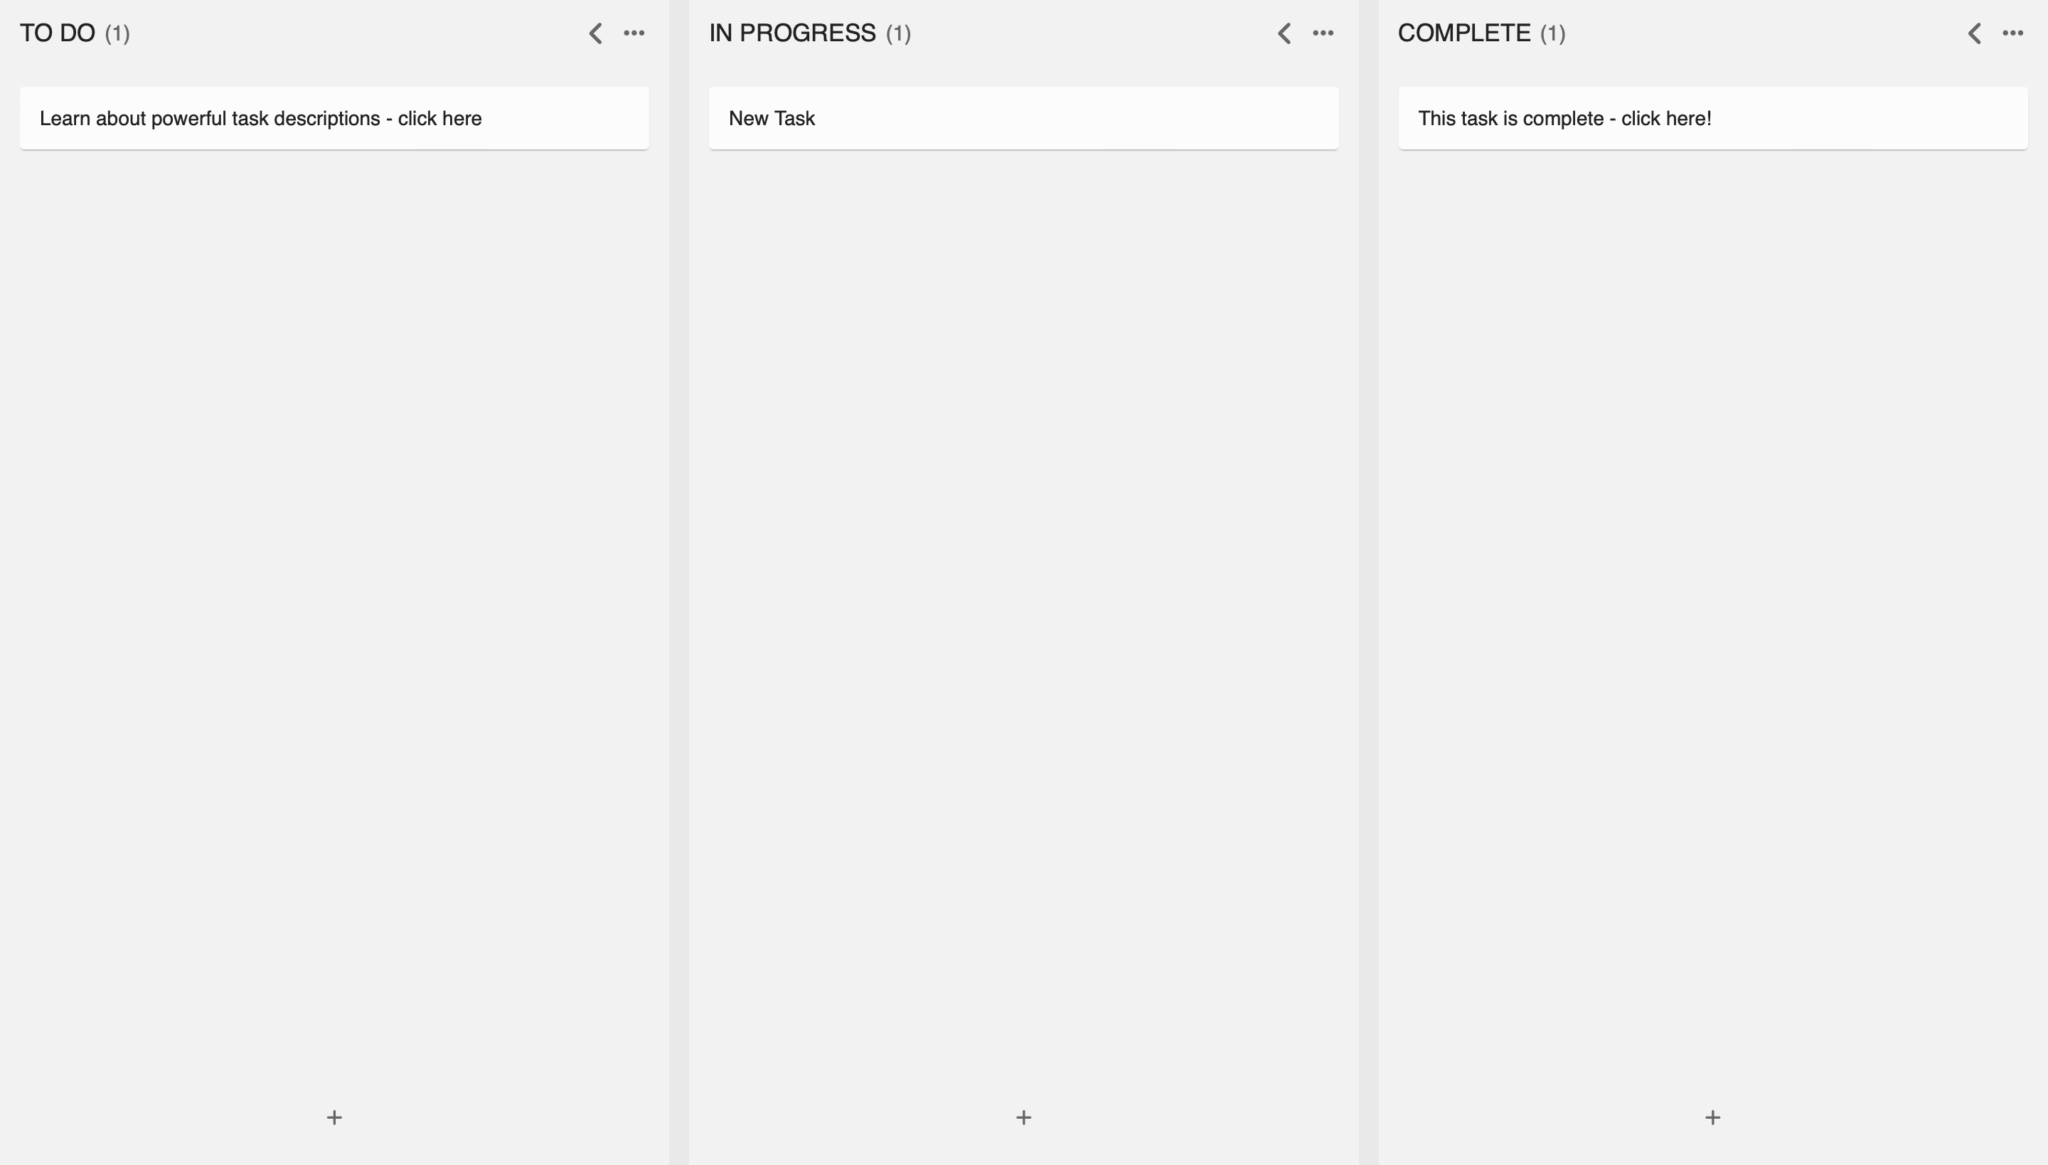
Create a new status column by clicking “+ New Status”. Name it “IN PROGRESS” and press the enter key.
Now create a new task by clicking the “+ New Task” button in the newly created “IN PROGRESS” column. Give it any name—we are creating this task so that we can test if our integration is working later on.
Next we will get our list ID and an API token in order to communicate with the ClickUp API.
Get your list ID
To get your list ID, from your list, click the three dots next to the “List” section at the top of the screen, then click “Copy link”.

After copying the link, paste it somewhere and take note of the number that comes after the /li/ section of the link. This is your list ID.
https://app.clickup.com/12345678/v/li/123456789We will be using the ID assigned to the list to communicate with the API later on.
Get your access token
Next you will need an access token. To get an access token follow these steps:
- Click on your profile image in the bottom left of the screen.
- Click “Apps”.
- On the next page, click “Generate” or “Copy” under the “API Token” section to get your API token.
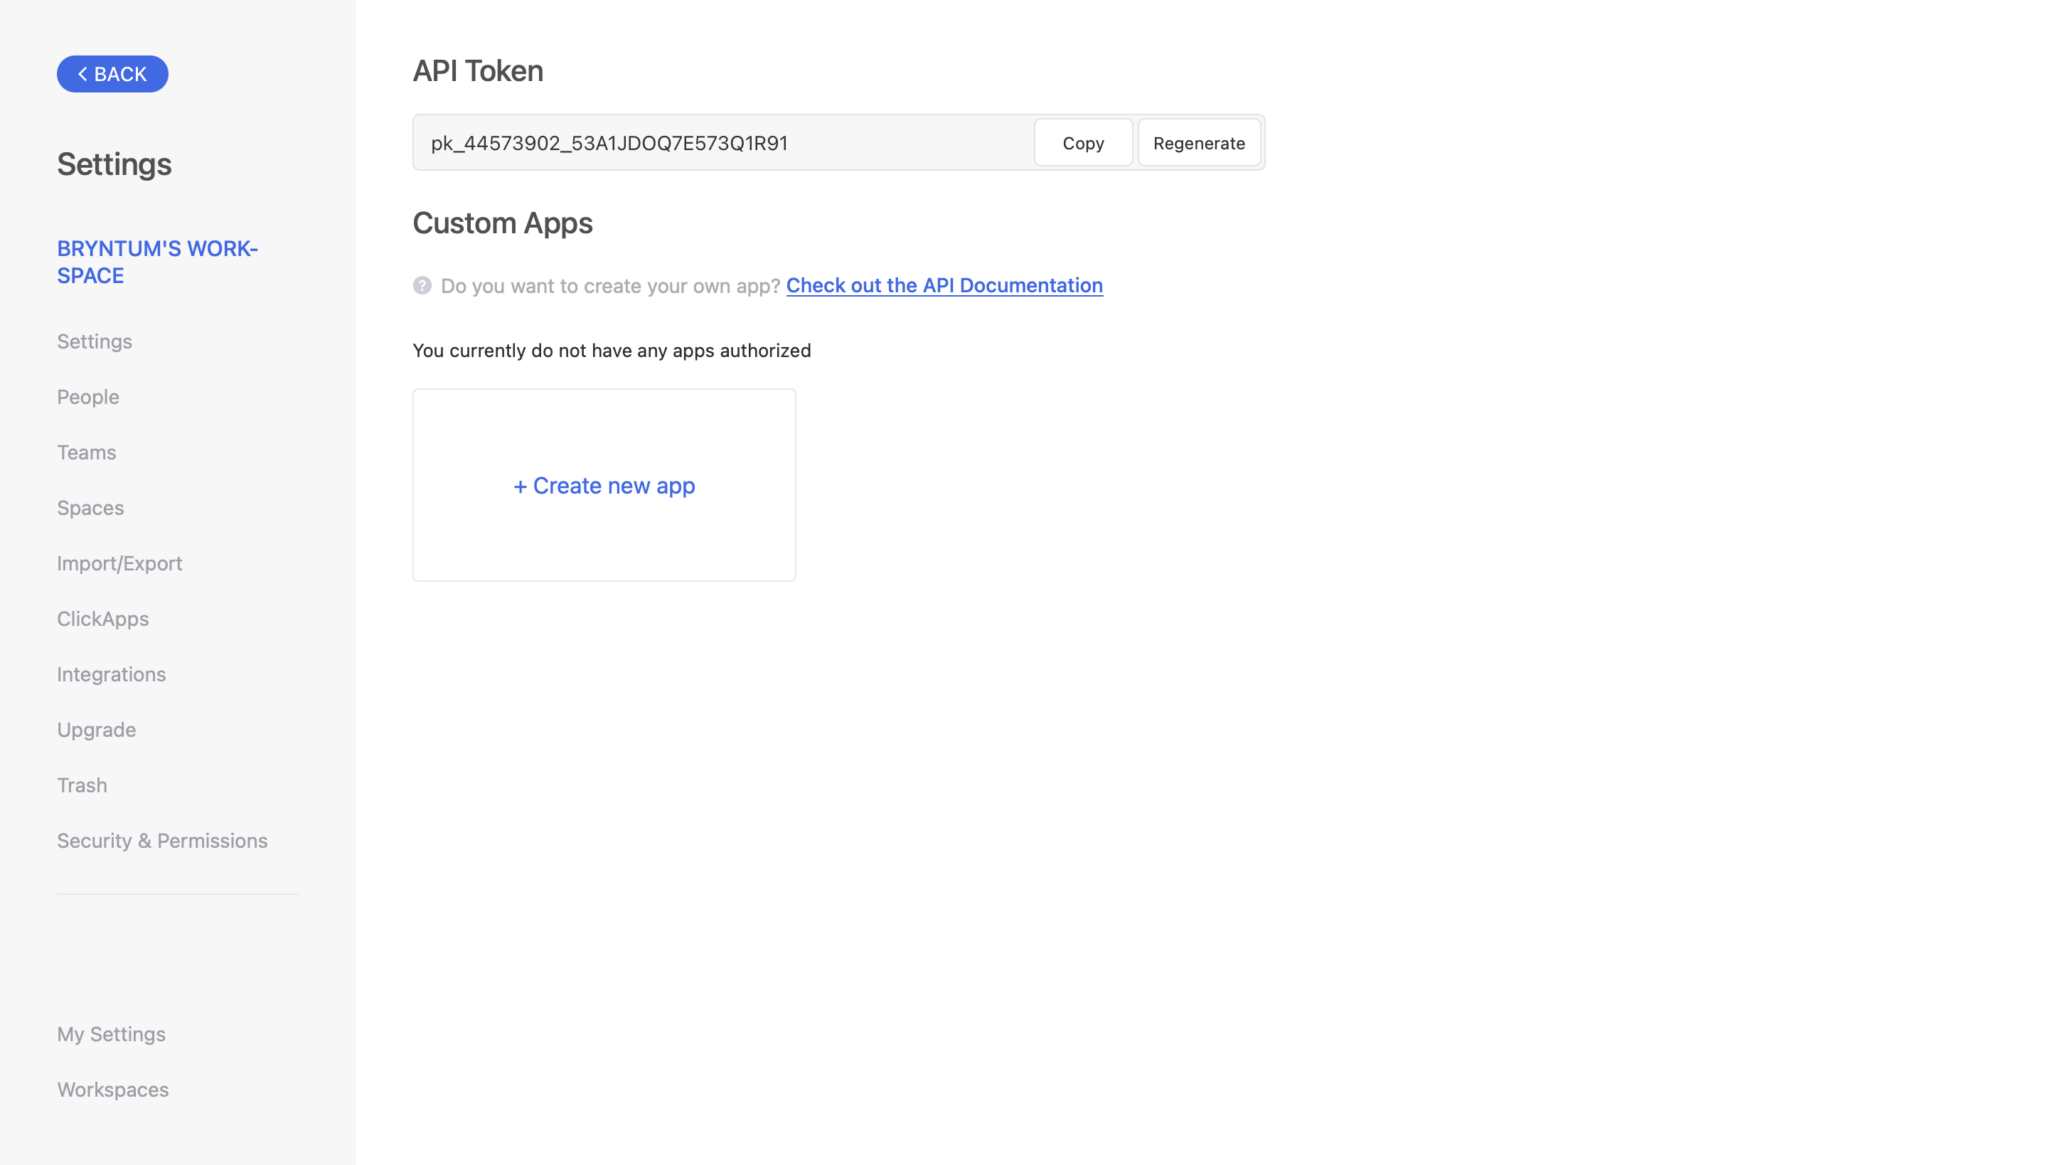
Keep the token somewhere safe so that we can use it to authenticate our requests to the ClickUp API.
Use the ClickUp API to access your tasks
Now that we have an access token, we can use it to query the ClickUp API and retrieve all the tasks from our list.
In the request.js file, add the code below:
import { createTaskBoard } from './index.js';
const serverAddress = 'https://localhost:3000';
const clientAddress = 'https://localhost:8080';
async function getTasksFromClickUp() {
  fetch(`${serverAddress}/getTasks/`, {
    method: 'GET',
    mode: 'cors',
    headers: {
      'Access-Control-Allow-Origin': clientAddress,
      'Content-Type': 'application/json',
    },
  })
    .then((response) => response.json())
    .then((data) => createTaskBoard(data));
}
export { getTasksFromClickUp };
Here we define a function called getTasksFromClickUp that makes a query to the server (we will create the server in the next step). The query receives a list of all the tasks from our server and then initiates a function called createTaskBoard. This function call will create our Bryntum TaskBoard with all the data from our ClickUp list included.
Before we sync our Bryntum TaskBoard, we must set up our local server. In the server.js file, add the code below:
import express from 'express';
import fetch from 'node-fetch';
import cors from 'cors';
const app = express();
app.use(cors({
  origin: 'https://localhost:8080',
}));
app.use(express.json());
const listId = '<your-list-id>';
const apiToken = '<your-api-token>';
app.get('/getTasks', function (req, res) {
  const query = new URLSearchParams({
    archived: 'false',
    page: '0',
    order_by: 'created',
    reverse: 'true',
    include_closed: 'true',
  }).toString();
  fetch(
    `https://api.clickup.com/api/v2/list/${listId}/task?${query}`,
    {
      method: 'GET',
      headers: {
        'Content-Type': 'application/json',
        Authorization: apiToken,
      },
    },
  )
    .then((res) => res.json())
    .then((json) => res.send(json));
});
app.listen(3000, function () {
  console.log('Listening on port 3000!');
});
Here we use Express.js to create a get route on /getTasks, which will make a request to the ClickUp API and return all of the tasks from our ClickUp list. We also create our server with app.listen, which will run our server on port 3000.
Now you need to add some of the information that we gathered at the beginning of the tutorial.
- Replace
<your-list-id>with the list ID we retrieved earlier. - Replace
<your-api-token>with the API token we retrieved earlier.
Note that in a production environment, you should keep your access token and list ID in an environment variable. We’ve hard-coded these values in this example for simplicity.
Now install the packages needed to run the server with the following command:
npm install cors express node-fetchNext we will add our ClickUp tasks to our Bryntum TaskBoard. Replace all the code in the index.js file with the following code:
import { TaskBoard, TaskStore } from '@bryntum/taskboard/taskboard.module.js';
import { getTasksFromClickUp } from './request.js';
getTasksFromClickUp();
function getTaskData(tasks) {
  const taskList = [];
  tasks = tasks.tasks;
  for (let i = 0; i < tasks.length; i++) {
    const newTask = {
      clickUpId: tasks[i].id,
      name: tasks[i].name,
      status: tasks[i].status.status,
    };
    taskList.push(newTask);
  }
  return taskList;
}
function createTaskBoard(tasks) {
  const taskStore = new TaskStore({

    data: getTaskData(tasks),
  });
  const taskBoard = new TaskBoard({
    appendTo: document.body,
    columnField: 'status',
    columns: [
      'to do',
      'in progress',
      'complete',
    ],
    project: {
      taskStore,
    },
  });
}
export { createTaskBoard };
Here we create the createTaskBoard function that will create our TaskBoard instance, then add our tasks using the getTaskData function. The getTaskData function takes in the results of the request to ClickUp and formats the tasks to match the Bryntum inline data format.
Now run your newly created server using the following command:
node server.jsIf you run npm run dev in a new terminal now, you will see the tasks from your ClickUp list reflected in the Bryntum TaskBoard.
Implementing CRUD
Now that our Bryntum TaskBoard has received all our items from the ClickUp API, we’ll implement the rest of the CRUD functionality by taking advantage of the ClickUp API.
Create events
In the server.js file, add the following lines above app.listen:
app.post('/addTask', function (req, res) {
  const query = new URLSearchParams({
    custom_task_ids: 'false',
  }).toString();
  fetch(
    `https://api.clickup.com/api/v2/list/${listId}/task?${query}`,
    {
      method: 'POST',
      headers: {
        'Content-Type': 'application/json',
        Authorization: apiToken,
      },
      body: JSON.stringify({
        name: req.body.name,
        status: req.body.status,
      }),
    },
  )
    .then((res) => res.json())
    .then((json) => res.send(json))
    .catch((err) => console.log(err));
});
Here we define the /addTask post request, which will create a task in our ClickUp list using the name and status (to do, in progress, and done).
Update events
In the server.js file, add the following lines above app.listen:
app.put('/updateTask', function (req, res) {
  const query = new URLSearchParams({
    custom_task_ids: 'false',
  }).toString();
  const taskId = req.body.id;
  fetch(
    `https://api.clickup.com/api/v2/task/${taskId}?${query}`,
    {
      method: 'PUT',
      headers: {
        'Content-Type': 'application/json',
        Authorization: apiToken,
      },
      body: JSON.stringify({
        name: req.body.name,
        status: req.body.status,
      }),
    },
  )
    .catch((err) => console.log(err));
});
The /updateTask route will handle the requests to change the name and status of our tasks.
Delete events
In the server.js file, add the following lines above app.listen:
app.delete('/deleteTask', function (req, res) {
  const query = new URLSearchParams({
    custom_task_ids: 'false',
  }).toString();
  const taskId = req.body.id;
  fetch(
    `https://api.clickup.com/api/v2/task/${taskId}?${query}`,
    {
      method: 'DELETE',
      headers: {
        'Content-Type': 'application/json',
        Authorization: apiToken,
      },
    },
  )
    .catch((err) => console.log(err));
});
The /deleteTask route will identify the appropriate task by its taskId and delete the task from our ClickUp list.
Listening for event data changes in Bryntum TaskBoard
Next, we’ll set the listeners for our Bryntum TaskBoard so that it will know when the user updates events.
In the index.js file add the listener property above the data: getTaskData(tasks), line:
    listeners: {
      change: function (event) {
        updateClickUp(event);
      },
    },
Here we set a listener on our Bryntum TaskBoard to listen for any changes to the task board’s data store. This will fire an "add" event whenever a task board item is created, an "update" event when an item is updated, and a "remove" event whenever an item is deleted.
The item retrieved from the change listener also carries event data about the specific TaskBoard item that has been altered. We’ll use the event data to identify which item is being altered and what’s being changed.
Next we’ll create a function called updateClickUp that will update your ClickUp list when the appropriate "add", "update", or "delete" event is fired.
Add the following code below the getTasksFromClickUp function in the request.js file:
async function sendRequest(event, address, requestMethod) {
  const requestBody = {
    id: event.records[0].data.clickUpId,
    status: event.records[0].data.status,
    name: event.records[0].data.name,
  };
  await fetch(`${serverAddress}/${address}/`, {
    method: requestMethod,
    mode: 'cors',
    headers: {
      'Access-Control-Allow-Origin': clientAddress,
      'Content-Type': 'application/json',
    },
    body: JSON.stringify(requestBody),
  })
    .then((res) => res.json())
    .then((results) => event.records[0].data.clickUpId = results.id)
    .then((data) => console.log(data));
}
async function updateClickUp(event) {
  if (event.action === 'update' && ('name' in event.changes || 'status' in event.changes)) {
    sendRequest(event, 'updateTask', 'PUT');
  } else if (event.action === 'add' && event.records.length === 1) {
    sendRequest(event, 'addTask', 'POST');
  } else if (event.action === 'remove' && event.records.length === 1) {
    sendRequest(event, 'deleteTask', 'DELETE');
  }
}
Here we create the updateClickUp function that is called on all changes to the data store of Bryntum TaskBoard. It then creates a request to our server with the sendRequest function to request the appropriate ClickUp API CRUD routes we defined.
On "update", we make the request to the /updateTask route. We pass in the event information, since we can extract the Bryntum task’s name, status, and ID for the request.
async function updateClickUp(event) {
  if (event.action === 'update' && ('name' in event.changes || 'status' in event.changes)) {
    sendRequest(event, 'updateTask', 'PUT');
  }
On "add", we make the request to the /addTask route.
else if (event.action === 'add' && event.records.length === 1) {
    sendRequest(event, 'addTask', 'POST');
  }
On "remove", we make the request to the /deleteTask route.
else if (event.action === 'remove' && event.records.length === 1) {
    sendRequest(event, 'deleteTask', 'DELETE');
  }
Finally, change the exports in request.js to the following:
export { getTasksFromClickUp, updateClickUp };And change the imports in index.js to the following:
import { TaskBoard, TaskStore } from '@bryntum/taskboard/taskboard.module.js';
import { getTasksFromClickUp, updateClickUp } from './request.js';
Now run your server to create, update, delete, and edit an item in the Bryntum TaskBoard. You’ll see the changes reflected in your ClickUp list.
Next steps
This tutorial gives you a starting point for creating a Bryntum TaskBoard using vanilla JavaScript and syncing it with ClickUp. There are many ways you can improve your Bryntum TaskBoard, for example, you can add features such as task filters. Take a look at our demos page to see demos of the available features.