Integrating Bryntum Scheduler with React
We strive to keep posts updated, but code samples may sometimes be outdated. Humans, see the Bryntum documentation; agents, https://mcp.bryntum.com for the latest info.
This post is outdated. You can find the up-to-date guide here.
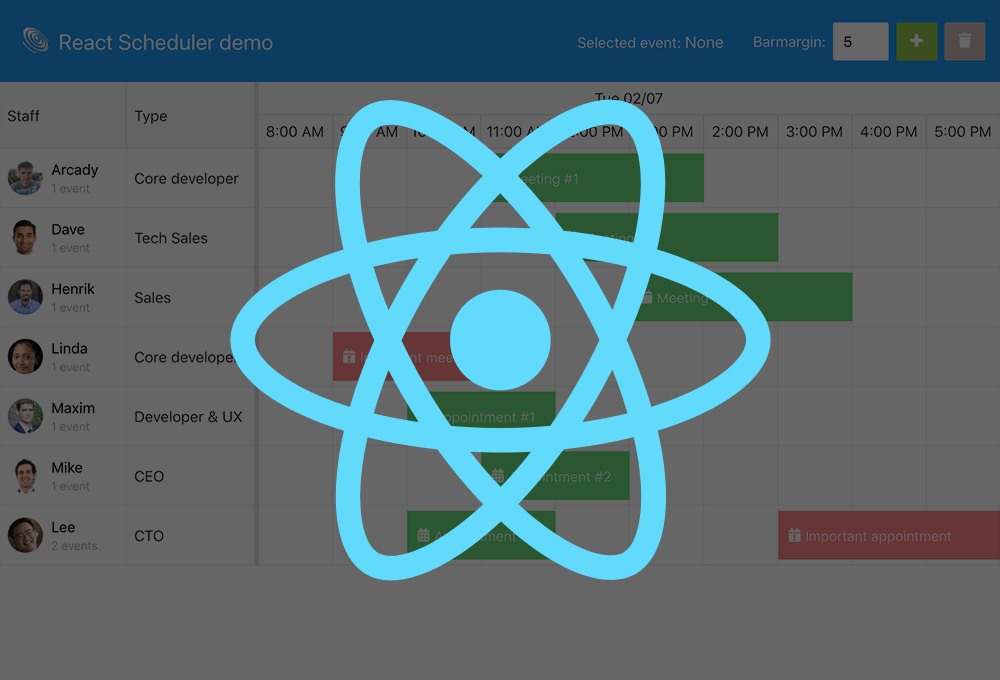
React is a very popular JavaScript framework for interactive UIs. With our new pure JS component suite, you can easily add a very powerful Grid or Scheduler component to your React apps. This post will show you how to get started with integrating the new Bryntum Scheduler in your React project.

The Scheduler as a React component
The React demos included with the Scheduler contain a basic React component called BryntumScheduler that uses the Scheduler as its engine. In this post we will outline the steps needed to add it to your project and also take a look at how to use it. To see React demos in action, visit /products/scheduler/examples/#Integration/React.

Adding the Scheduler component to your React project
To add the component to your project:
- Copy
BryntumScheduler.jsxfrom/examples/react_build/componentsto your project. - Make sure the path to
scheduler.model.jsin the copied file is correct for your setup - Copy the css for the theme you want to use from
/buildto your project. - Include the css file on your page:
<link rel="stylesheet" href="scheduler.default.css"> - Import the component in your app:
import BryntumScheduler from './components/BryntumScheduler.jsx';
Using the Scheduler component
After including/importing the required files you can use the <BryntumScheduler>-tag to create a scheduler. It supports many of the configuration options available for Scheduler as attributes/properties. A basic example, in your render() function:
<BryntumScheduler
    ref={'scheduler'}
    eventsVersion={this.state.eventsVersion}
    resourcesVersion={this.state.resourcesVersion}
    events={this.state.events}
    resources={this.state.resources}

    startDate={new Date(2018, 9, 17, 8)}
    endDate={new Date(2018, 9, 17, 18)}
  ></BryntumScheduler>
The definition above populates the scheduler with events and resources from React state. To prevent a full redraw on each state update it uses version numbers for the dataset supplied (eventsVersion and resourcesVersion above). For example to load data when the component mounts:
componentDidMount() {
    const scheduler = this.refs.scheduler;

    fetch('data/data.json').then(response => {
        response.json().then(data => {
            this.setState({
                // Increment these to notify BryntumScheduler that it should process events/resources again
                eventsVersion : 1,
                resourcesVersion : 1,

                events     : data.events.rows,
                resources  : data.resources.rows,
                timeRanges : data.timeRanges.rows
            });
        });
    });
}
});
Accessing the engine
While the BryntumScheduler component wraps the scheduler configuration you will need to access the underlying engine to harness its full power. It is available as a property of the component, called schedulerEngine. Below is a one-line example how to use the engine to access the resource store and add a new resource:
// Since our BryntumScheduler tag above contained a ref for the component
// we can access it easily
this.refs.scheduler.schedulerEngine.resourceStore.add({ name : 'New resource' });
Learn more
The best way to learn more about the React Scheduler component is to examine its source and the demo. And to learn more about the Scheduler API, please visit the docs. If you have not already, please download our trial version and check it out.
Feel free to extend the React component with what you need, and please also share your thoughts on our forum. The React component wrapper will be extended according to popular demand, but remember that you can always access the underlying engine if a feature or config is not exposed directly. Some useful links:
Summing up
The Bryntum Scheduler works with React out of the box and ships with a demo containing a basic React component. And although the React component does not wrap all functionality in Scheduler, you can always access the engine to use any part of the API.
Good luck!
Build it with Bryntum Scheduler
Start a free trial, explore live demos, or read the docs.