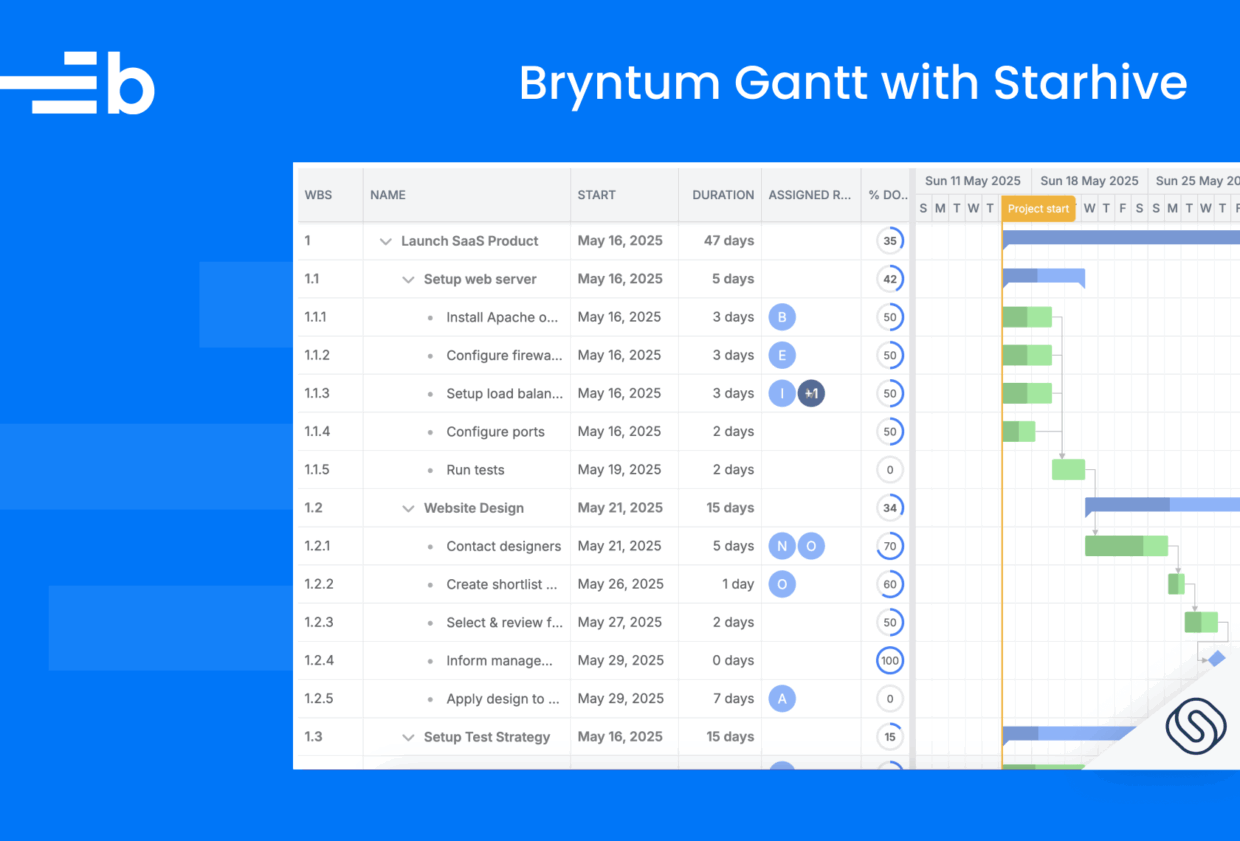
Starhive as Backend for Bryntum Gantt
We strive to keep posts updated, but code samples may sometimes be outdated. Humans, see the Bryntum documentation; agents, https://mcp.bryntum.com for the latest info.
Bryntum Gantt can be used with any backend system, whether it’s a PHP server or a Node.js or Next.js project. In this guide, we’ll use Starhive with Bryntum Gantt in a Next.js project. We’ll create Next.js APIs that interact with Starhive and work as the middleware between our Bryntum Gantt and the Starhive platform.
Starhive can be used as a scalable backend-as-a-service (BaaS) platform to simplify data storage and management for modern web applications. It provides a NoSQL document database with real-time capabilities, built-in authentication, and easy API access, making it ideal for developers who want to focus on frontend logic without managing infrastructure. With support for role-based access control (RBAC), webhooks, and seamless integration via RESTful APIs, Starhive enables the rapid development of dynamic applications with minimal backend setup.
Getting Started
We’ll clone this GitHub starter repository and use the initial app as our starting point.
The starter template is a Next.js application that uses TypeScript. After cloning the app, install the dependencies:
npm installRun the local developer server using the following command:
npm run devYou’ll see a blank page with the heading, Bryntum Gantt with Starhive.
Creating a Bryntum Gantt React Component
First, let’s install the Bryntum Calendar component. Start by following the guide to accessing the Bryntum npm repository. Once you’ve logged in to the registry, install the Bryntum Gantt packages.
- If you’re using the trial version, use the following command:
npm install @bryntum/gantt@npm:@bryntum/gantt-trial @bryntum/gantt-react- If you’re using the licensed version, use the following command:
npm install @bryntum/gantt @bryntum/gantt-reactNow, let’s create a basic Bryntum Gantt component.
Create an app/ganttConfig.ts file, add the following code to it:
import { BryntumGanttProps } from "@bryntum/gantt-react";

const ganttConfig: BryntumGanttProps = {
  columns                 : [
    { type : 'wbs' },
    { type : 'name', width : 250 },
    { type : 'startdate' },
    { type : 'duration' },
    { type : 'resourceassignment', width : 120, showAvatars : true },
    { type : 'percentdone', mode : 'circle', width : 70 }
  ],
  viewPreset: "weekAndDayLetter",
  barMargin: 10,
};
export { ganttConfig };
Then, create an app/components/GanttWrapper.tsx file, add this code to it:
import dynamic from "next/dynamic";
import { ganttConfig } from "../ganttConfig";

const Gantt = dynamic(() => import("./Gantt"), {
  ssr: !!false,
  loading: () => {
    return (
      <div
        style={{
          display: "flex",
          alignItems: "center",
          justifyContent: "center",
          height: "100vh",
        }}
      >
        <p>Loading...</p>
      </div>
    );
  },
});

const GanttWrapper = async () => {
  return <Gantt {...ganttConfig}  />;
};
export { GanttWrapper };
This code is a Gantt wrapper that uses next/dynamic to lazy load the Bryntum Gantt. It also imports Gantt.tsx, so let’s create that next.
Add the following code to your app/components/Gantt.tsx file:
"use client";

import { BryntumGantt } from "@bryntum/gantt-react";
import { useEffect, useRef, useState } from "react";

export default function Gantt({ ...props }) {

  const [projectConfig] = useState({

    taskStore : {
      transformFlatData : true,
    },
    autoLoad: true,
    autoSync : true,
    // This config enables response validation and dumping of found errors to the browser console.
    // It's meant to be used as a development stage helper only so please set it to false for production.
    validateResponse: true,
  });
  const ganttRef = useRef<BryntumGantt>(null);

  useEffect(() => {
    // Bryntum Gantt instance
    const gantt = ganttRef?.current?.instance;
  }, []);

  return <BryntumGantt {...props} ref={ganttRef} project={projectConfig} />;
}
Then, replace the code in your app/globals.css file with the following:
@import "@bryntum/gantt/gantt.stockholm.css";
@import url('https://fonts.googleapis.com/css2?family=Poppins:wght@400;700&family=Roboto:ital,wght@0,100;0,300;0,400;0,500;0,700;0,900;1,100;1,300;1,400;1,500;1,700;1,900&display=swap');

body {
  height: 100vh;
  font-family: "Poppins", sans-serif;
}
Lastly, update the app/page.tsx file to include:
import React from "react";
import { GanttWrapper } from "./components/GanttWrapper";

export default async function Home() {
    return (
        <>
        <GanttWrapper />
        </>
    )
}
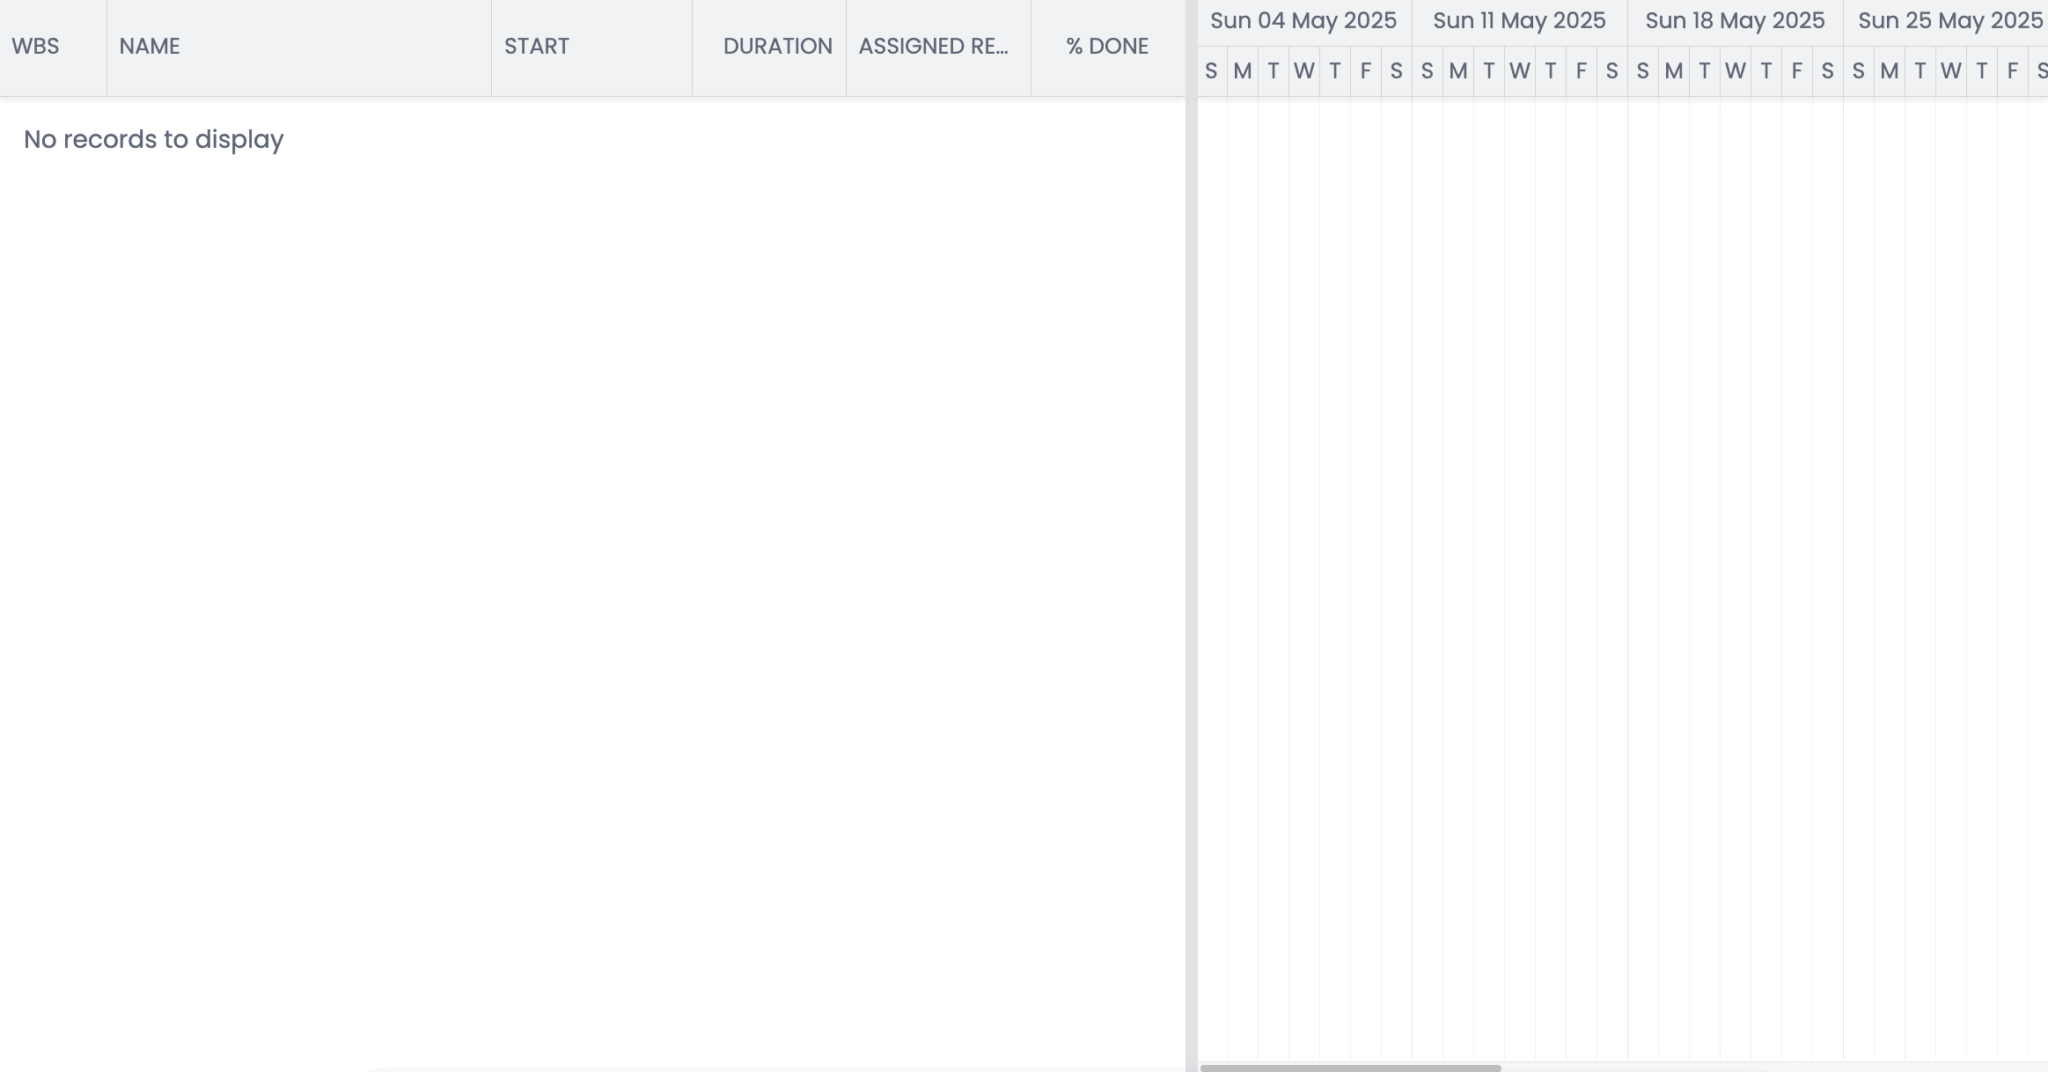
With that, execute the npm run dev command. You should see an empty Bryntum Gantt Chart.
Applying a Starhive template
Starhive offers a diverse range of ready-made industry-tailored templates designed to optimize workspace setups. Users can quickly identify and apply the template that best fits their requirements.
You can sign up for a 30-day trial of Starhive to complete this tutorial. There are over 10 Starhive templates that you can use as a starting point.
For this guide, make sure you’re logged in to Starhive, then head over to the Bryntum Gantt template, click the Use template button in the top-right corner, and select Apply template from the popup.
You can also change the space name, like we did in the video.
This template has four types, which are called Stores in Bryntum components:
- Assignments
- Dependencies
- Resources
- Tasks
Each Store has only a few attributes (fields), which you can modify, include, or exclude based on your use case.
We need to download the space schema and put it into our project. To do so, go to the Workspace Settings > API Connector. Select the space (“Bryntum Gantt Chart”) and language (“TypeScript”). Click Generate and then Download.
Extract the zip file, locate the schema folder (under project/src/io/starhive/schema), and copy the folder to the Next.js project.
In the app/api/ClientFactory.ts file, update the following line of code from:
return new StarhiveClient(starhiveApiToken()!, starhiveWorkspaceId()!, new Map())to:
return new StarhiveClient(starhiveApiToken()!, starhiveWorkspaceId()!, JSON_DECODERS)Also, make sure to import the JSON_DECODERS:
import { JSON_DECODERS } from "./starhive/schema/JsonDecoders";Connecting with Frontend
To access the Starhive template from the frontend, rename it .env.example to .env.
Get the two variables from Starhive for the .env file. The workspace ID is in the Starhive dashboard URL, and the API token can be created from Settings > Personal access tokens.
With that, you can now interact with the frontend.
Creating a load URL
In Bryntum, we use two endpoints, one for loading (loadUrl) data and another for updating, deleting, and creating (syncUrl) data. Let’s start with the loadUrl.
Create an app/api/load/route.ts file and add the following code to it:
export async function GET() {

    return Response.json({
        msg : 'Load Bryntum Gantt Data'
    });
}
Now, when you visit https://localhost:3000/api/load in your browser, you should see a JSON message. This is the endpoint that should return Gantt data.
To fetch the data from Starhive, create a Starhive client:
import {createClient, starhiveApiToken, starhiveWorkspaceId} from "@/app/api/ClientFactory";
import {StarhivePage} from "@/app/api/starhive/client/StarhivePage";
import { Assignments } from "@/app/api/starhive/schema/Assignments";
import { Dependencies } from "@/app/api/starhive/schema/Dependencies";
import { Tasks } from "@/app/api/starhive/schema/Tasks";
import { Resources } from "@/app/api/starhive/schema/Resources";

const workspaceIdSetupCompleted = starhiveWorkspaceId() !== undefined
const apiKeySetupCompleted = starhiveApiToken() !== undefined

let client;
if (workspaceIdSetupCompleted && apiKeySetupCompleted) {
    client = createClient()
}

export async function GET() {


    const starhiveClient = createClient();

    const tasks : StarhivePage<Tasks> = await starhiveClient.search(Tasks.TYPE_ID, "");
    const resources : StarhivePage<Resources> = await starhiveClient.search(Resources.TYPE_ID, "");
    const assignments : StarhivePage<Assignments> = await starhiveClient.search(Assignments.TYPE_ID, "");
    const dependencies : StarhivePage<Dependencies> = await starhiveClient.search(Dependencies.TYPE_ID, "");

console.log(tasks.result);
console.log(resources.result);
console.log(assignments.result);
console.log(dependencies.result);


    return Response.json({
        msg : 'Load Bryntum Gantt Data'
    });
}
Now, when you next visit https://localhost:3000/api/load, you should see console logs in the code editor terminal. These come from the console.log() method we added in the GET request. Remove all the console.log() statements and replace them with the following :
const taskStore = await getTasks(tasks);
const assignmentStore = getAssignments(assignments);
const resourceStore = getResources(resources);
const dependenciesStore = getDependencies(dependencies);
We use these async functions to get the tasks, assignments, resources, and dependencies. Let’s define them one by one.
Add the following code.
For tasks:
function getTasks(tasks : StarhivePage<Tasks>) {
    return tasks.result.map(task => {
        return {
            id : task.getId() || "",
            name : task.getName(),
            startDate : task.getStartDate(),
            duration : task.getDuration(),
            percentDone : task.getPercentDone(),
            parentIndex : task.getParentIndex(),
            effort      : task.getEffort(),
            parentId : task.getParentId()?.[0],
            expanded : true
        }
    }).sort((a, b) => (a.parentIndex ?? 0) - (b.parentIndex ?? 0));
}
In this code, tasks is a plain array that we sort based on the parentIndex value and then pass to Bryntum Gantt. The nested structure is handled by the Bryntum Gantt, because we’ve used transformFlatData : true, in app/components/Gantt.tsx.
For assignments:
function getAssignments(assignments : StarhivePage<Assignments>) {
    const assignmentsList = assignments.result;
    return assignmentsList.map(assignment => {
        return {
            id : assignment.getId(),
            event : assignment.getEvent(),
            resource : assignment.getResource(),
            units : assignment.getUnits(),
        }
    });
}
For dependencies:
function getDependencies(dependencies : StarhivePage<Dependencies>) {
    const dependenciesList = dependencies.result;
    return dependenciesList.map(dependency => {
        return {
            id : dependency.getId(),
            fromTask : dependency.getFrom(),
            toTask : dependency.getTo(),
            lag : dependency.getLag(),
            type : dependency.getType()
        }
    });
}
For resources:
function getResources(resources : StarhivePage<Resources>) {
    const resourcesList = resources.result;
    return resourcesList.map(resource => {
        return {
            id : resource.getId(),
            name : resource.getName(),
            city : resource.getCity()?.address
        }
    });
}
Lastly, replace the return value of the GET function with the following:
return Response.json({
    success      : true,
    tasks        : { rows: taskStore },
    assignments  : { rows: assignmentStore },
    resources    : { rows: resourceStore },
    dependencies : { rows: dependenciesStore }
});
Now the load API should return data in the JSON format that the Bryntum Gantt understands.
Populating the Gantt Chart
Let’s populate our Gantt chart with the Starhive data. Open your app/components/Gantt.tsx and add the following code to the projectConfig state:
const [projectConfig] = useState({
// other config options...
transport : {
load : {
url : 'https://localhost:3000/api/load',
}
}
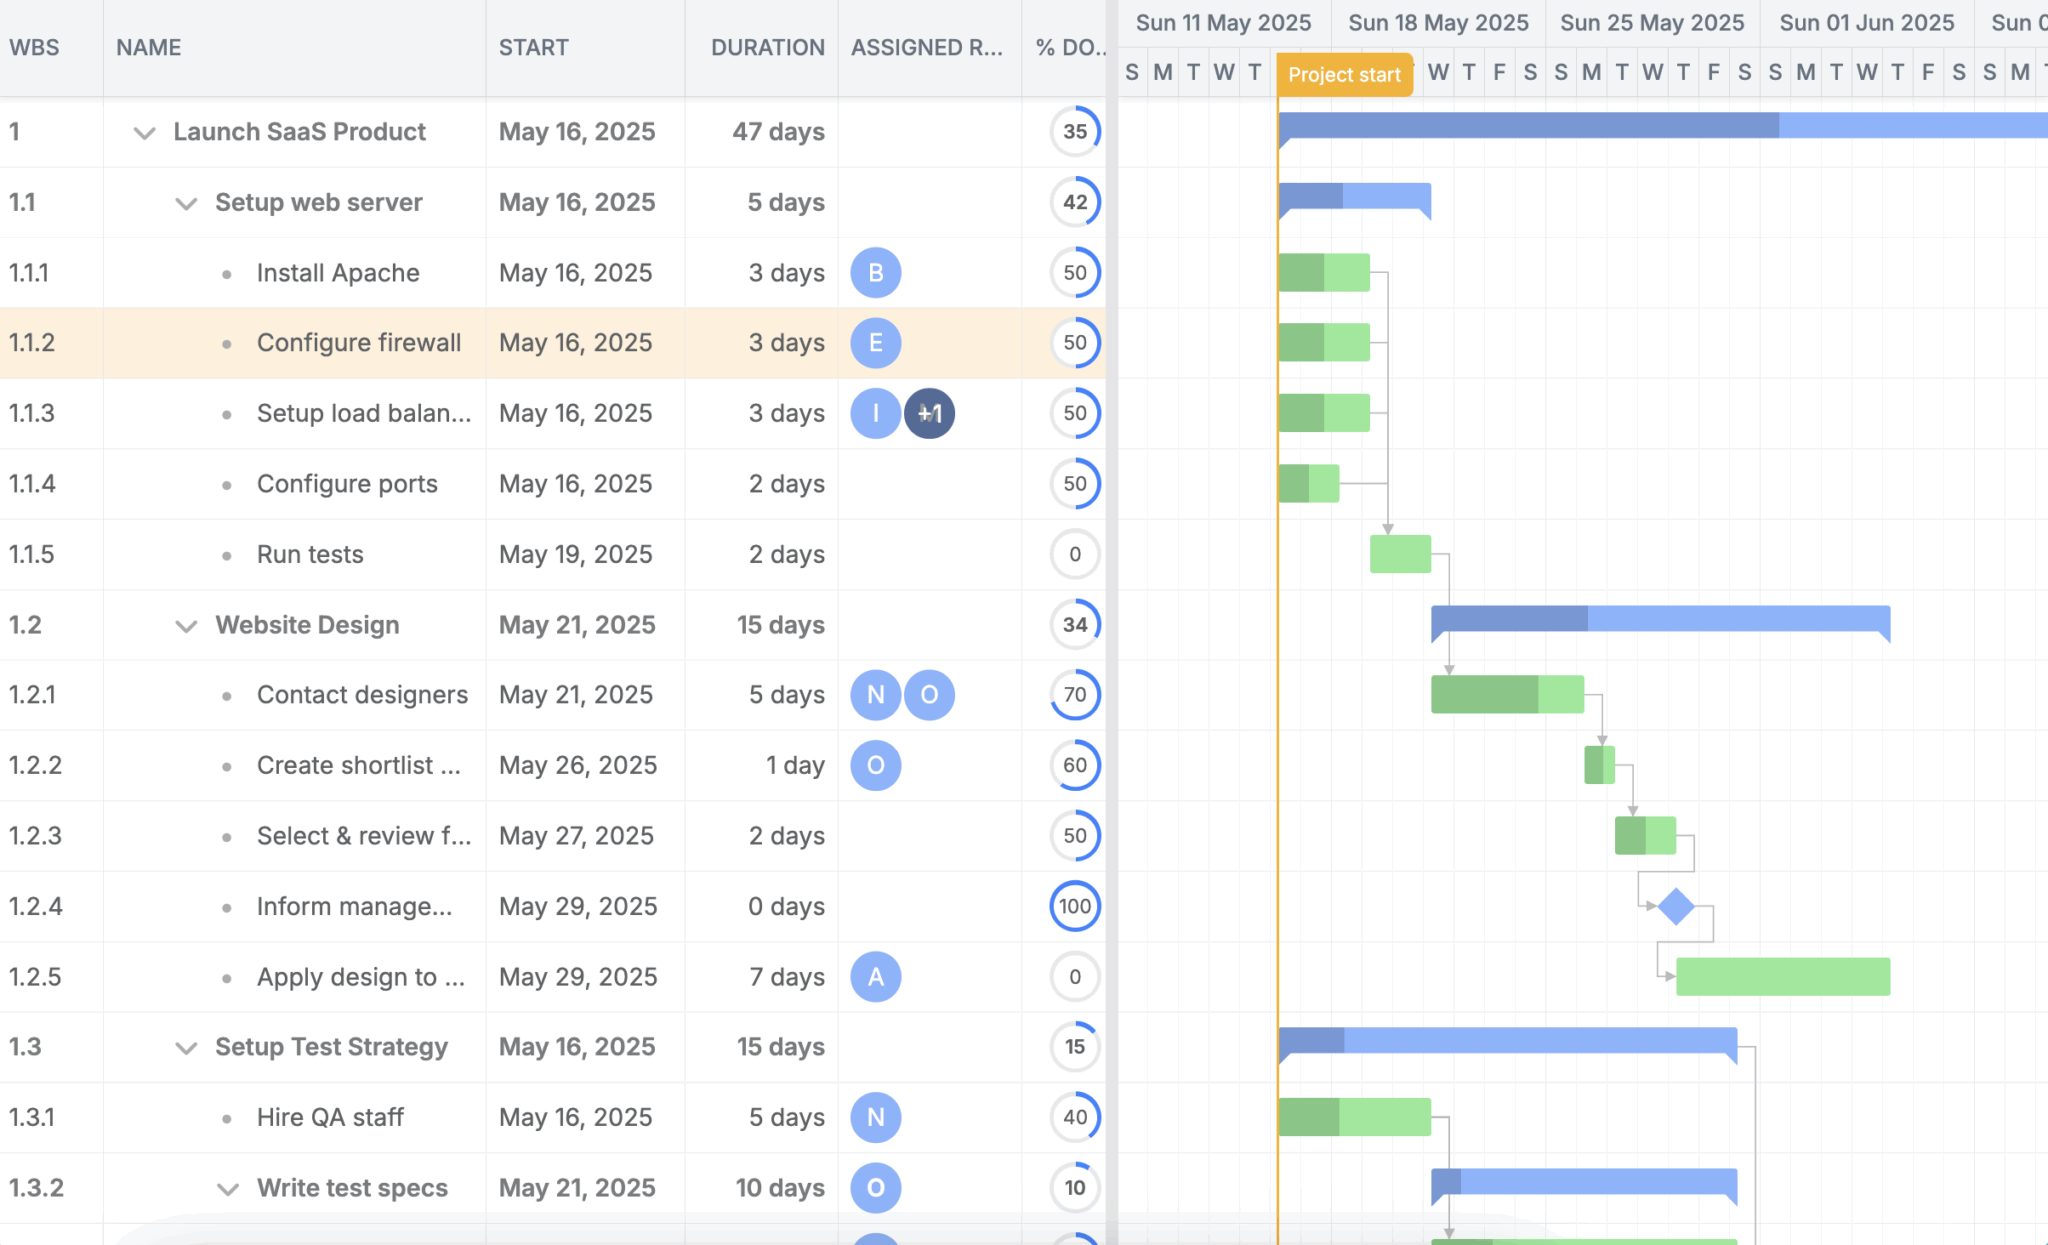
});When you refresh the Bryntum Gantt, you will see it populated with the data.
Creating the sync URL
Next, we’ll create the sync URL. Although it’s similar to load/route.ts we’ll add a POST request to the sync/route.ts file. This is because Bryntum Gantt uses POST requests for the syncURL endpoint.
import {createClient, starhiveApiToken, starhiveWorkspaceId} from "@/app/api/ClientFactory";
import { Tasks } from "../starhive/schema/Tasks";
import { Dependencies } from "../starhive/schema/Dependencies";
import { Assignments } from "../starhive/schema/Assignments";
import { AssignmentModel, DependencyModel, TaskModel } from "@bryntum/gantt";
const starhiveClient = createClient();

const workspaceIdSetupCompleted = starhiveWorkspaceId() !== undefined
const apiKeySetupCompleted = starhiveApiToken() !== undefined
let client
if (workspaceIdSetupCompleted && apiKeySetupCompleted) {
    client = createClient()
}

export async function POST(request : Request) {

    const req = await request.json();
    const { requestId, tasks, dependencies, assignments } = req;

    try {
        const res : ResponseType = { requestId, success : true };

        if (tasks) {
        }
        if (dependencies) {

        }
        if (assignments) {

        }

        return Response.json(res);
    } catch (error) {
        return Response.json({ "message": "SOMETHING WENT WRONG!!!"});

    }
}
This is a dummy structure that we’ll use to check whether the request body contains tasks, dependencies, or assignments. This determines how we’ll interact with Starhive.
Below the POST request, add the following function:
async function applyTableChanges(table: string, changes: TableChanges): Promise<any[] | undefined> {
    let rows: any[] | undefined;
    if (changes.added) {
        rows = await createOperation(changes.added, table);
    }
    if (changes.updated) {
        await updateOperation(changes.updated, table);
    }
    if (changes.removed) {
        await deleteOperation(changes.removed, table);
    }
    return rows;
}
This code checks which types of changes have been made on the frontend and calls a function accordingly.
Below the applyTableChanges function, define for create, update, and delete operations:
function createOperation(added: AddItem[], table : string) {
    return Promise.all(
        added.map(async(record : AddItem) => {
                const { $PhantomId, ...data } = record; // data can be { name, startDate, endDate, duration, effort, effortUnit, effortDone }
                let id;
                if (table === 'tasks') {
                        id = await addTask(data as TaskModel);
                }
                if (table === 'dependencies') {
                        id = await addDependency(data as DependencyModel);
                }
                if (table === 'assignments') {
                    id = await addAssignment(data as AssignmentModel);
                }
                // Report to the client that the record identifier has been changed
                return { $PhantomId, id };
        })
    );
}

async function deleteOperation(deleted: DeletedItem[], table: string): Promise<string[]> {
    const ids = deleted.map((item: DeletedItem) => item.id);
    if (table === 'tasks') {
        await removeTask(ids);
    }
    if (table === 'dependencies') {
        await removeDependency(ids);
    }
    if (table === 'assignments') {
        await removeAssignment(ids);
    }

    return ids;
}

function updateOperation(updated : UpdateItem[], table : string) {
    return Promise.all(
        updated.map(({id, ...data } : UpdateItem) => { // data can be { name, startDate, endDate, duration, effort, effortUnit, effortDone
                if (table === 'tasks') {
                    updateTask(id, data as TaskModel);
                }
                if (table === 'dependencies') {
                    updateDependency(id, data as DependencyModel);
                }
                if (table === 'assignments') {
                    updateAssignment(id, data as AssignmentModel);
                }
        })
    );

}
These functions call other functions, such as addTask, updateDependency, and removeAssignment.
Now, add the following functions below the updateOperation:
async function addTask(task: TaskModel) {
    const builder = Tasks.builder()
      .name(task.name)
      .startDate(new Date(task.startDate))
      .duration(task.duration)
      .percentDone(task.percentDone)
      .effort(task.effort)
      .parentIndex(task.parentIndex);

    if (task.parentId != null) {
      builder.parentId(task.parentId.toString());
    }

    const newTask = await starhiveClient.createObject(builder.build());

    return newTask.getId();
  }

async function addDependency(dependency: DependencyModel) {
    const { from, to } = dependency;

    const newDependency = await starhiveClient.createObject(
        Dependencies.builder()
        .name(from.toString())
        .from(from.toString())
        .to(to.toString())
        .build()
    );

    return newDependency.getId();
}

async function addAssignment(assignment : AssignmentModel) {
    const createAssignment = async (assignment: {
        event: string;
        resource: string;
        units: number;
      }) => {
        const { event, resource, units } = assignment;

        const created = await starhiveClient.createObject(
          Assignments.builder()
            .name(event)
            .event(event)
            .units(units)
            .resource(resource)
            .build()
        );

        return created.getId();
      };

      const { event, resource, units } = assignment;
      const eventString = typeof event === 'string' ? event : event.toString();
      const resourceString = typeof resource === 'string' ? resource : resource.toString();
      return await createAssignment({ event: eventString, resource: resourceString, units });

}
We use the addTask, addDependency, and addAssignment functions to add tasks, resources, and assignments to the Starhive platform. They interact with the Starhive schema using starhiveClient.createObject.
Next, add the update functions:
async function updateTask(id: string, updatedTask: TaskModel) {
    const task = await client!.getObject(id, Tasks.TYPE_ID);

    const parentId = ('parentId' in updatedTask)
    ? (updatedTask.parentId === null ? undefined : updatedTask.parentId.toString())
    : task.getParentId();


    const updated = await starhiveClient.updateObject(
      Tasks.builder()
        .id(task.getId())
        .name(updatedTask.name ?? task.getName())
        .startDate(new Date(updatedTask.startDate ?? task.getStartDate()))
        .duration(updatedTask.duration ?? task.getDuration())
        .percentDone(updatedTask.percentDone ?? task.getPercentDone())
        .parentId(parentId)
        .effort(updatedTask.effort ?? task.getEffort())
        .parentIndex(updatedTask.parentIndex ?? task.getParentIndex())
        .build()
    );

    return updated.getId();
  }


async function updateDependency(id: string, updatedDependency: DependencyModel) {
    const dependency = await client!.getObject(id, Dependencies.TYPE_ID);

    const updated = await starhiveClient.updateObject(
        Dependencies.builder()
        .id(dependency.getId())
        .name(id)
        .from((updatedDependency.from ?? dependency.getFrom()).toString())
        .to((updatedDependency.to ?? dependency.getTo()).toString())
        .lag(updatedDependency.lag ?? dependency.getLag())
        .type(updatedDependency.type ?? dependency.getType())
        .build()
    );

    return updated.getId();
}

async function updateAssignment(id: string, updatedAssignment: any) {
    const assignment = await client!.getObject(id, Assignments.TYPE_ID);

    const assignmentUnits = updatedAssignment.units ?? assignment.getUnits();
    const assignmentResource = updatedAssignment.resource ?? assignment.getResource();
    const assignmentEvent = updatedAssignment.event ?? assignment.getEvent();

    const newAssignment = await starhiveClient.updateObject(
        Assignments.builder()
        .id(assignment.getId())
        .name(id)
        .units(assignmentUnits)
        .event(assignmentEvent)
        .resource(assignmentResource)
        .build()
    );

    return newAssignment.getId();
}
Lastly, add the delete functions:
async function removeTask(taskIds : string[]) {
    await starhiveClient.deleteObjectsInBulk(taskIds);
}

async function removeDependency(dependencyIds : string[]) {
    await starhiveClient.deleteObjectsInBulk(dependencyIds);
}

async function removeAssignment(assignmentIds : string[]) {
    await starhiveClient.deleteObjectsInBulk(assignmentIds);
}
In the POST function, replace the try block with the following code:
try {
        const res : ResponseType = { requestId, success : true };

        if (tasks) {
            const rows = await applyTableChanges('tasks', tasks)
            res.tasks = { rows };
        }
        if (dependencies) {
            const rows = await applyTableChanges('dependencies', dependencies)
            if (rows ) {
                res.dependencies = { rows };
            }
        }
        if (assignments) {
            const rows = await applyTableChanges('assignments', assignments)
            if (rows) {
                if (assignments.added) {
                    res.assignments = { rows };
                }
                if (assignments.removed) {
                    const removed = rows.map((id : string) => ({ id }));
                    // const removed = rows;
                    res.assignments = { removed };
                }
            }

        }

        return Response.json(res);
    }
Create a Types.ts file next to sync/route.ts and add the following code to it:
import { AssignmentModel, DependencyModel, TaskModel } from "@bryntum/gantt";

type ResponseType = {
    requestId: string;
    success: boolean;
    tasks?: {
        rows: any[] | undefined;
    };
    dependencies?: {
        rows: any[] | undefined;
    };
    assignments?: {
        rows?: any[] | undefined;
        removed?: any[] | undefined;
    };
}

type DeletedItem = {
    id: string;
}

type AddItem = (TaskModel | DependencyModel | AssignmentModel) & {
    $PhantomId: string;
    id: string;
};

type UpdateItem = (TaskModel | DependencyModel | AssignmentModel) & {
    id: string;
};
type TableChanges = {
    added?: AddItem[];
    updated?: UpdateItem[];
    removed?: DeletedItem[];
}
Import all these types to sync/route.ts:
import { ResponseType, DeletedItem, AddItem, UpdateItem, TableChanges } from './Types'In the app/component/Gantt.tsx, add the following code to the transport object:
sync : {
        url : 'https://localhost:3000/api/sync'
    }
With that, you’ve successfully set up the sync functionality. It should be working fine.
Test it out by making changes to the Gantt data and checking that they’re reflected on the Starhive platform.
Next steps
Bryntum components are highly flexible and integrate with any backend or database. You can experiment with the Starhive template and customize the types’ attribute definitions (fields) to match your specific project requirements.
If you’re new to Bryntum, we offer a 45-day free trial for all our components, including the Grid, Gantt, and Scheduler products. You’re also welcome to join our active community forum, where you can ask questions, share feedback, and receive support from our team and other developers.