Integrating Bryntum Scheduler with Vue.js

From day one of the Bryntum Scheduler development, our goal was to be framework agnostic and integrate easily with any framework and environment. This means it can be easily used with any codebase, including Vue.js and in this blog post I will describe the basic steps to integrate the Scheduler with Vue. Let’s get started!
![]()
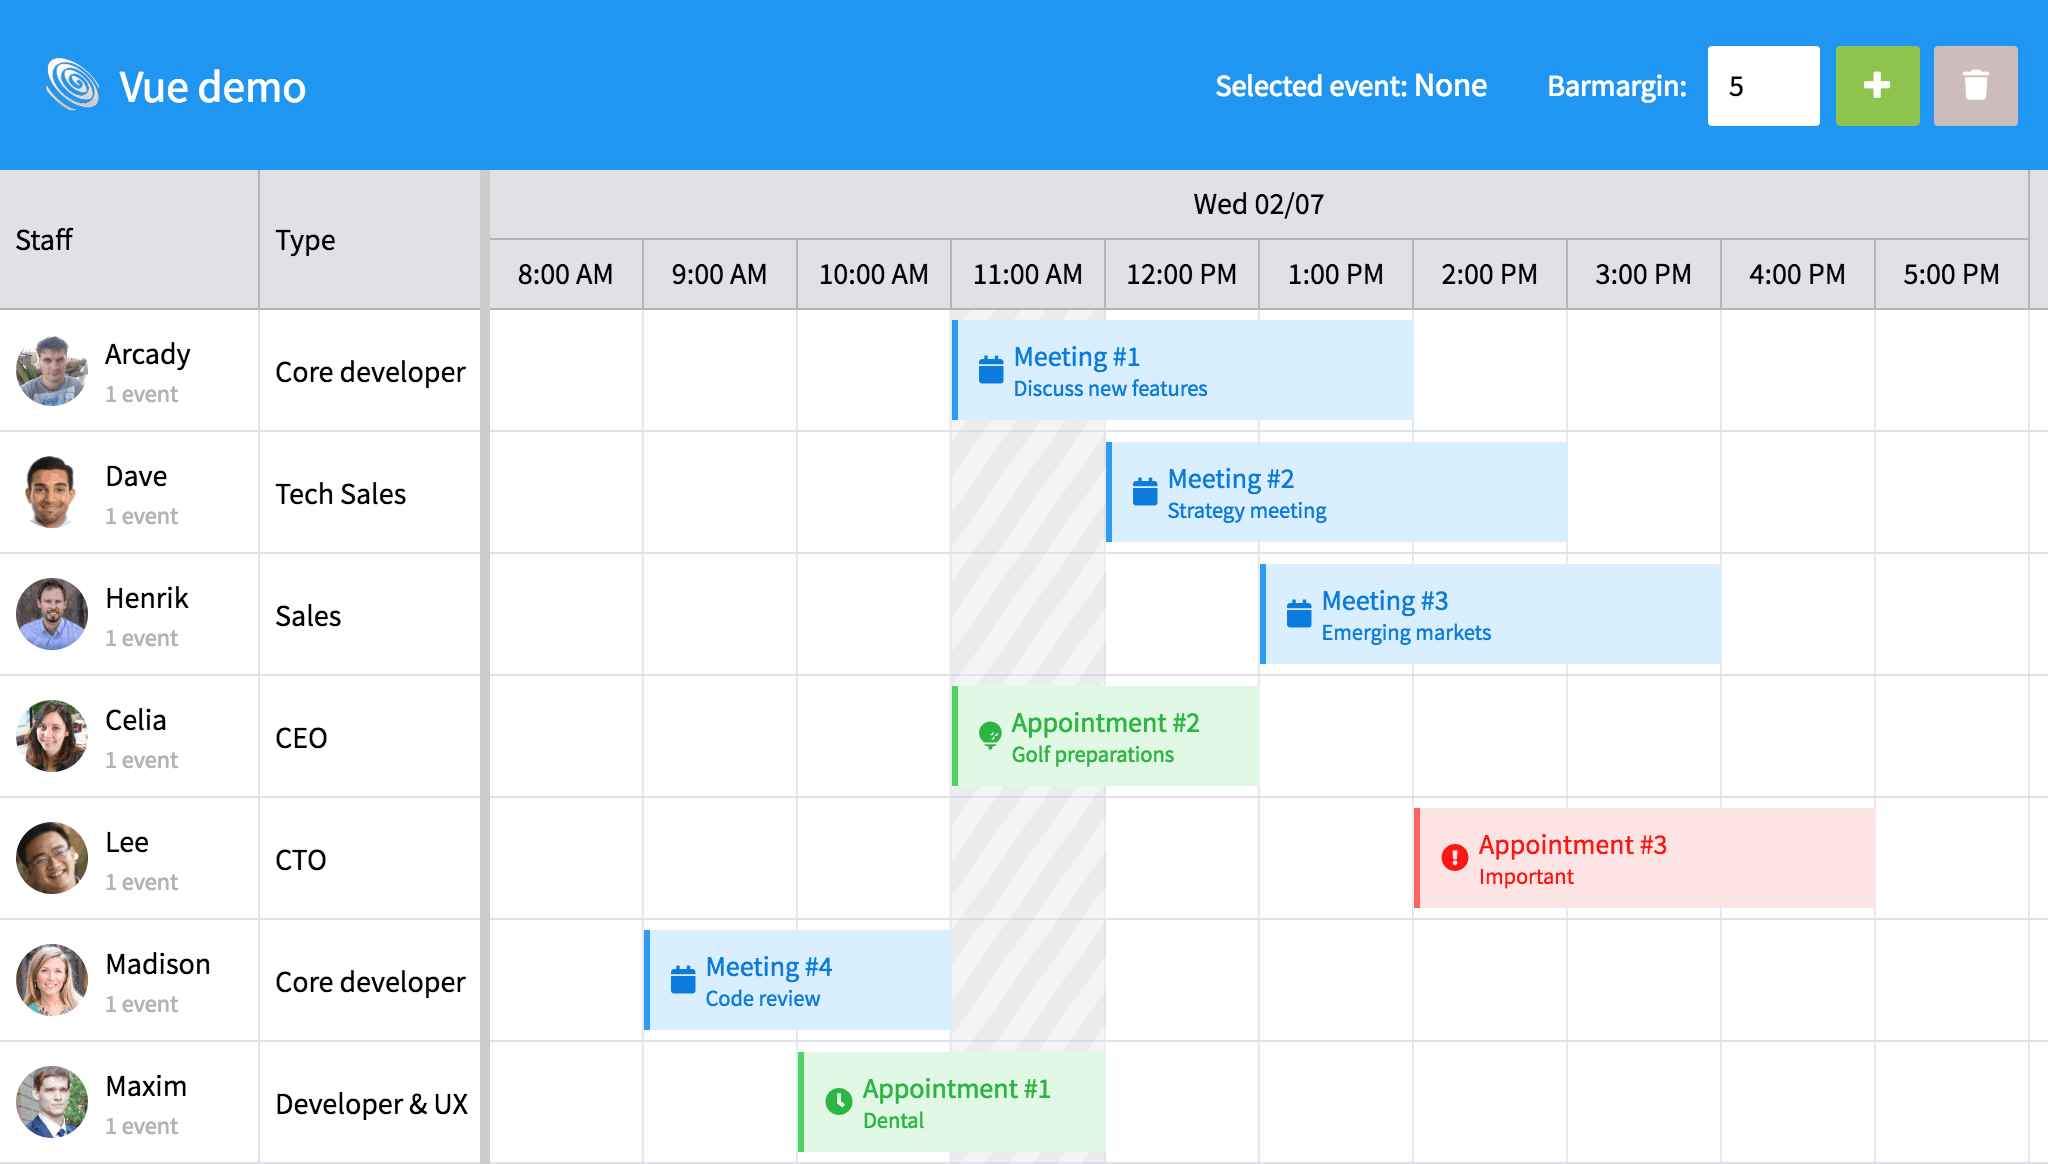
The Scheduler as a Vue component
The Vue demo included with the Scheduler contains a Vue component called scheduler that uses the Scheduler as its engine. In this post we will outline the steps needed to add it to your project and also take a look at how to use it. To see the full demo in action, visit /products/scheduler/examples/vue.
Adding the component to your project
To add the component to your project:
- Copy
scheduler.jsfrom/examples/vue/componentsto your project. - Copy
scheduler.umd.jsand the css for the theme you want to use from/buildto your project. - Include the files copied above on your page:
<script src="scheduler.umd.js"></script>
<link rel="stylesheet" href="scheduler.default.css">
<script src="scheduler.js"></script>
Using the component
After including the required files you can use the <scheduler>-tag to create a scheduler. It supports many of the configuration options available for Scheduler as attributes/properties. A basic example, in your html template:
<scheduler
   ref="scheduler"
   :row-height=60
   :events="events"
   :resources="resources"
   :start-date="startDate"
   :end-date="endDate"
  ></scheduler>
And the corresponding code in your .js file:
var vm = new Vue({
  data : {
    events : [
      { id : 1, name : 'Event', startDate : new Date(2018, 8, 27), duration : 1 },
      ...
    ],

    resources : [
      { id : 1, name : 'Resource' },
      ...
    ],

    startDate : new Date(2018, 1, 7, 8),
    endDate   : new Date(2018, 1, 7, 18),
  }
});
Accessing the engine
While the Scheduler component wraps the scheduler configuration you will need to access the underlying engine to harness its full power. It is available as a property of the component, called schedulerEngine. Below is a one-line example how to use the engine to access the resource store and add a new resource:
// Since our class component tag above contained a ref for the component
// we can access it easily
this.$refs.scheduler.schedulerEngine.resourceStore.add({ name : 'New resource' });
Learn more
The best way to learn more about the Vue Scheduler component is to examine its source and the demo. And to learn more about the Scheduler API, please visit the docs. If you have not already, please download our trial version and check it out.
Feel free to extend the Vue component with what you need, and please also share your thoughts on our forum. The Vue component wrapper will be extended according to popular demand, but remember that you can always access the underlying engine if a feature or config is not exposed directly. Some useful links:
Summing up
The Bryntum Scheduler works with Vue.js out of the box and ships with a demo containing a Vue component. And although the Vue component does not wrap all functionality in Scheduler, you can always access the engine to use any part of the API.
Good luck!
Download Free Trial