How to use Bryntum Grid as a Retool custom component
We strive to keep posts updated, but code samples may sometimes be outdated. Humans, see the Bryntum documentation; agents, https://mcp.bryntum.com for the latest info.
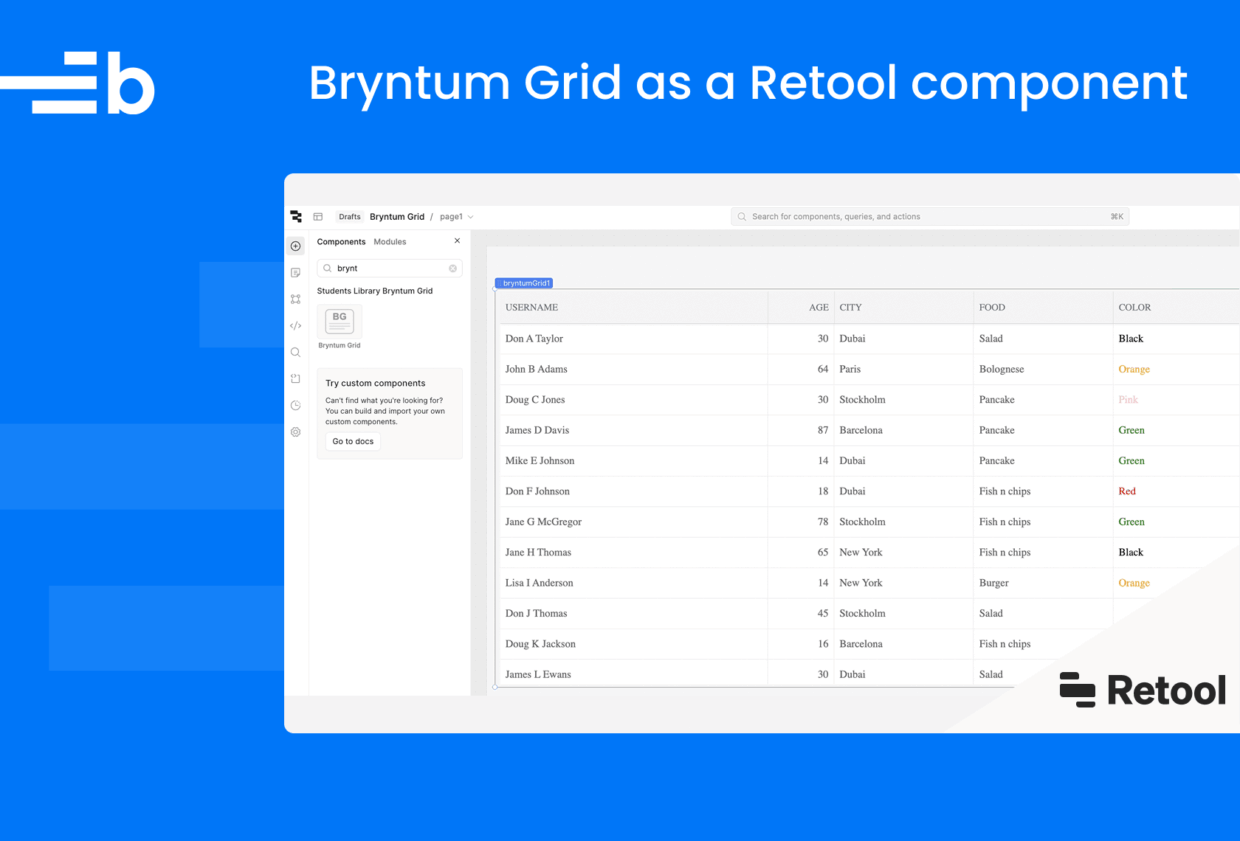
Retool is a low-code platform that allows developers to build internal tools from prebuilt components that connect to databases or APIs. While Retool offers a solid set of built-in components for accelerated app development, there are cases where your requirements may go beyond its default capabilities. That’s where custom components come in.
In this blog, we’ll demonstrate how to integrate Bryntum Grid – a powerful and highly customizable data grid – with Retool by loading it as a custom component. You’ll learn how to render Bryntum Grid inside Retool and interact with its configuration dynamically through the Retool UI.
Getting started
Head over to the Retool login page and create a new account if you don’t have one. During the registration phase, you’ll be asked for a subdomain. This becomes your dashboard page after registration.

After completing the registration, navigate to your dashboard.
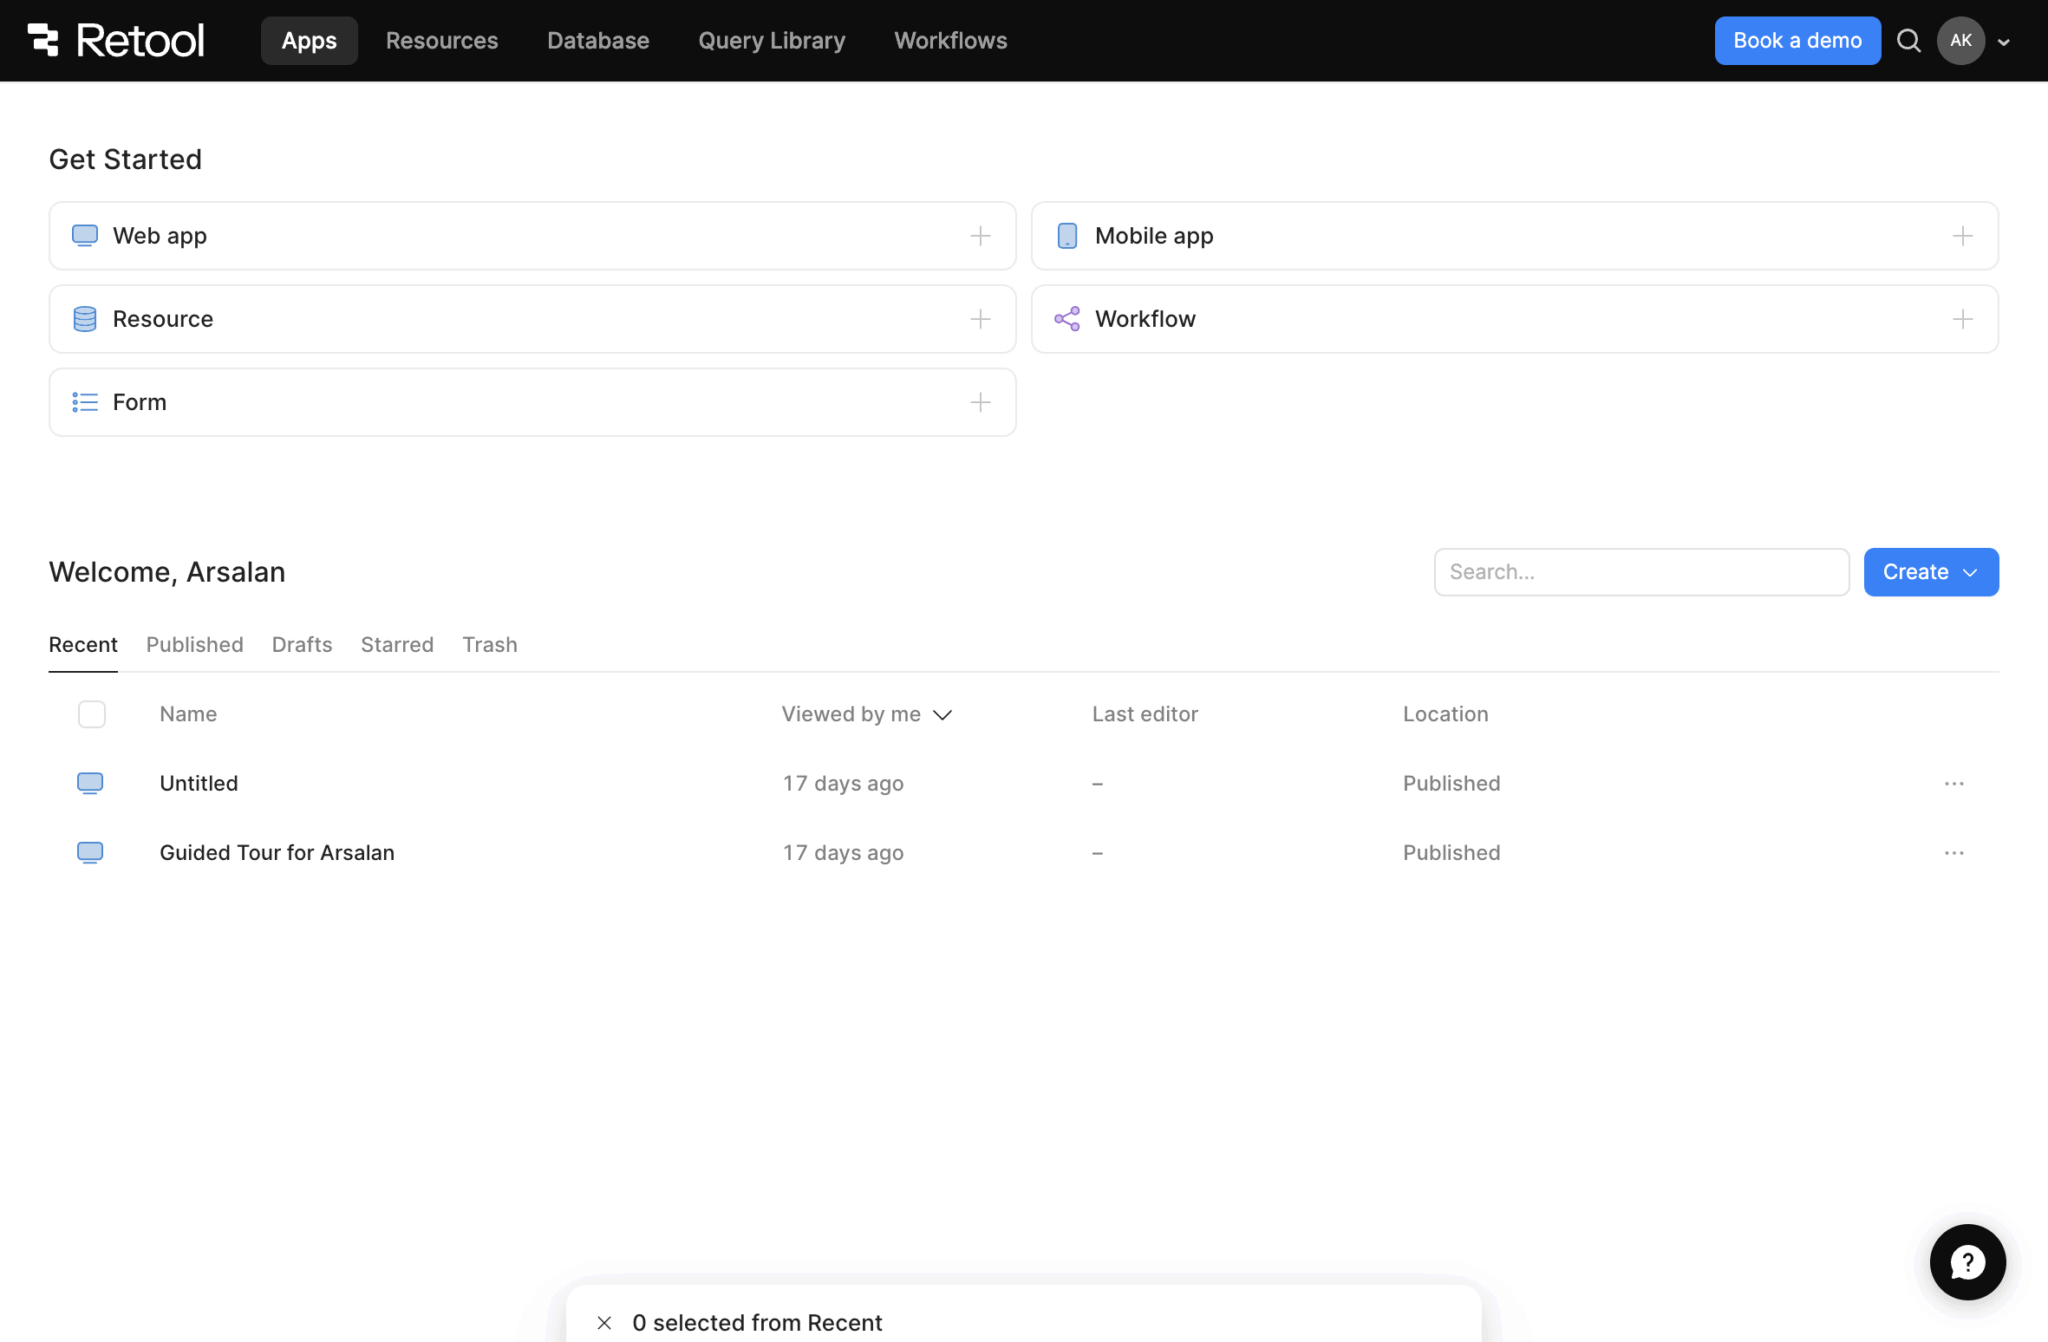
Here, click the Create button and select App to create a new untitled app.
To integrate the Bryntum Grid into your app, you’ll need to use a Retool custom component.
Setting up a custom component
To create a custom component, clone this GitHub repository, which serves as a starting point for the component.
Next, install the dependencies using npm install and then install Bryntum Grid.
- If you’re using the trial version, use the following command:
npm install @bryntum/grid@npm:@bryntum/grid-trial @bryntum/grid-react- If you’re using the licensed version, use the following command:
npm install @bryntum/grid @bryntum/grid-reactLog in to Retool:
npx retool-ccl loginWhen you log into Retool, you’ll be asked three questions. Answer them as follows:
Which Retool would you like to login to? (Use arrow keys)
❯ Log in to a Retool Cloud (retool.com) instance ✅
  Log in to your own self hosted Retool instance
  Log in to localhost:3000

What is the subdomain of your Retool instance? If you access retool on https://subdomain.retool.com, enter bryntumgrid1 // this will be your subdomain

What is the access token you would like to use (https://bryntum1.retool.com/settings/api)? // you'll need to create an access token
Next, create a component library by running:
npx retool-ccl initThis command guides you through picking a name and description for your library. It then adds these and other metadata to your local package.json file and calls Retool to construct the library.
In the src/index.tsx file, rename the HelloWorld function BryntumGrid.
With that, our basic custom component is ready.
Setting up Bryntum Grid
Create a src/GridConfig.ts file and add the following code to it:
import { BryntumGridProps } from "@bryntum/grid-react";

const gridProps: BryntumGridProps = {
  columns: [
    { text: "Username", field: "name", flex: 2 },
    { text: "Age", field: "age", width: 100, type: "number" },
    { text: "City", field: "city", flex: 1 },
    { text: "Food", field: "food", flex: 1 },
    {
      text: "Color",
      field: "color",
      flex: 1,
      renderer({
        cellElement,
        value,
      }: {
        cellElement: HTMLElement;
        value: string;
      }) {
        // set the color based on the value (e.g. "Red" should be red)
        cellElement.style.color = value;
        return value;
      },
    },
  ],

  data: [
    {
      id: 1,
      name: "Don A Taylor",
      firstName: "Don",
      surName: "Taylor",
      city: "Dubai",
      team: "Paris Tigers",
      age: 30,
      food: "Salad",
      color: "Black",
    },
    {
      id: 2,
      name: "John B Adams",
      firstName: "John",
      surName: "Adams",
      city: "Paris",
      team: "Washington Horses",
      age: 64,
      food: "Bolognese",
      color: "Orange",
    },
    {
      id: 3,
      name: "Doug C Jones",
      firstName: "Doug",
      surName: "Jones",
      city: "Stockholm",
      team: "New York Hens",
      age: 30,
      food: "Pancake",
      color: "Pink",
    },
    {
      id: 4,
      name: "James D Davis",
      firstName: "James",
      surName: "Davis",
      city: "Barcelona",
      team: "Dubai Lions",
      age: 87,
      food: "Pancake",
      color: "Green",
    },
    {
      id: 5,
      name: "Mike E Johnson",
      firstName: "Mike",
      surName: "Johnson",
      city: "Dubai",
      team: "New York Roosters",
      age: 14,
      food: "Pancake",
      color: "Green",
    },
    {
      id: 6,
      name: "Don F Johnson",
      firstName: "Don",
      surName: "Johnson",
      city: "Dubai",
      team: "Paris Tigers",
      age: 18,
      food: "Fish n chips",
      color: "Red",
    },
    {
      id: 7,
      name: "Jane G McGregor",
      firstName: "Jane",
      surName: "McGregor",
      city: "Stockholm",
      team: "Dubai Eagles",
      age: 78,
      food: "Fish n chips",
      color: "Green",
    },
    {
      id: 8,
      name: "Jane H Thomas",
      firstName: "Jane",
      surName: "Thomas",
      city: "New York",
      team: "Paris Cougars",
      age: 65,
      food: "Fish n chips",
      color: "Black",
    },
    {
      id: 9,
      name: "Lisa I Anderson",
      firstName: "Lisa",
      surName: "Anderson",
      city: "New York",
      team: "Stockholm Tigers",
      age: 14,
      food: "Burger",
      color: "Orange",
    },
    {
      id: 10,
      name: "Don J Thomas",
      firstName: "Don",
      surName: "Thomas",
      city: "Stockholm",
      team: "Barcelona Cougars",
      age: 45,
      food: "Salad",
      color: "Black",
    },
    {
      id: 11,
      name: "Doug K Jackson",
      firstName: "Doug",
      surName: "Jackson",
      city: "Barcelona",
      team: "Dubai Cats",
      age: 16,
      food: "Fish n chips",
      color: "Red",
    },
    {
      id: 12,
      name: "James L Ewans",
      firstName: "James",
      surName: "Ewans",
      city: "Dubai",
      team: "Dubai Dogs",
      age: 30,
      food: "Salad",
      color: "Black",
    },
    {
      id: 13,
      name: "Jenny M Brown",
      firstName: "Jenny",
      surName: "Brown",
      city: "Dubai",
      team: "Stockholm Eagles",
      age: 56,
      food: "Waffles",
      color: "Orange",
    },
    {
      id: 14,
      name: "Doug N Ewans",
      firstName: "Doug",
      surName: "Ewans",
      city: "Barcelona",
      team: "New York Dogs",
      age: 61,
      food: "Pancake",
      color: "Teal",
    },
    {
      id: 15,
      name: "Mike O Ewans",
      firstName: "Mike",
      surName: "Ewans",
      city: "Stockholm",
      team: "New York Roosters",
      age: 78,
      food: "Burger",
      color: "Green",
    },
  ],
};

export { gridProps };
This creates the basic configuration for Bryntum Grid.
Create a src/App.css file and add the following code to it:
@import "@bryntum/grid/grid.stockholm.css";

#root {
    height: 100vh;
  }

  @font-face {
      font-family: 'Font Awesome 6 Free';
      font-style: normal;
      font-weight: 900;
      font-display: block;
      src:
        url('https://cdnjs.cloudflare.com/ajax/libs/font-awesome/6.5.2/webfonts/fa-solid-900.woff2')
          format('woff2'),
        url('https://cdnjs.cloudflare.com/ajax/libs/font-awesome/6.5.2/webfonts/fa-solid-900.ttf')
          format('truetype');
    }
This includes the Stockholm theme, which we’ll replace later so that we can use the Retool UI to change themes.
We need @font-face for the Font Awesome icons. Without it, the icons won’t load.
Create a src/App.tsx file and add the following code to it:
import React from 'react';
import { BryntumGrid } from '@bryntum/grid-react';
import { gridProps } from './GridConfig';
import './App.css';

function App() {

    return (
        <>
        <BryntumGrid
            {...gridProps}
            />
        </>
    );
}

export default App;
Lastly, update the function in the src/index.tsx file:
import React from 'react'
import { type FC } from 'react'
import { Retool } from '@tryretool/custom-component-support'
import App from './App'

export const BryntumGrid: FC = () => {

  return (
    <>
    <App />
    </>
  )
}
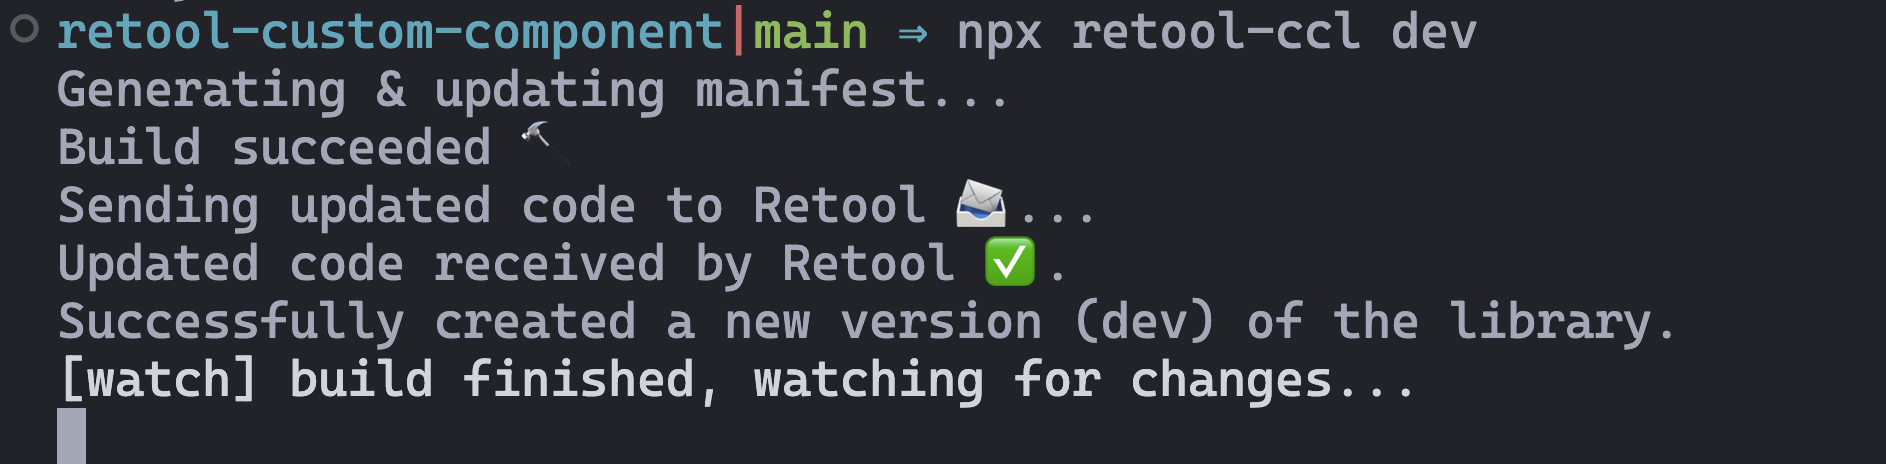
With that, run the dev command to push the updates:
npx retool-ccl devYou’ll notice a console message appears when the changes are pushed to Retool.
Showing Bryntum Grid on the Retool canvas
Open your Retool app and search for BryntumGrid in the components. Drag the Bryntum Grid component to the canvas and resize it.
The name of the component is the name of the class in src/index.tsx. If you used a different name, search for that instead.
This gives us a basic Bryntum Grid in our Retool app. Now, let’s make it configurable within that Retool app.
Controlling Bryntum Grid with the Retool UI
While it’s possible to modify Bryntum Grid features directly in the code, a more efficient and maintainable approach is to use the Retool UI for configuration.
Anything we want to configure through the Retool UI, we must first pass to Retool in the custom component. We’ll pass some features, such as cellEdit, and manage them via the Retool UI.
In src/index.tsx, add the following code to the function before the return statement:
  const [rowHeight, _setRowHeight] = Retool.useStateNumber({
    name: 'Row Height',
    initialValue: 60,
  })
  const [sortFeature, _setSortFeature] = Retool.useStateBoolean({
    name: 'Sort Feature',
    initialValue: true,
    inspector : 'checkbox'
  })
  const [filterFeature, _setFilterFeature] = Retool.useStateBoolean({
    name: 'Filter Feature',
    initialValue: true,
    inspector : 'checkbox'
  })
  const [cellEditFeature, _setCellEditFeature] = Retool.useStateBoolean({
    name: 'Cell Edit Feature',
    initialValue: false,
    inspector : 'checkbox'
  })
  const [rowEditFeature, _setRowEditFeature] = Retool.useStateBoolean({
    name: 'Row Edit Feature',
    initialValue: false,
    inspector : 'checkbox'
  })
  const [cellMenuFeature, _setCellMenuFeature] = Retool.useStateBoolean({
    name: 'Cell Menu Feature',
    initialValue: false,
    inspector : 'checkbox'
  })
This adds some Bryntum Grid features and the row height property. The Retool API has many functions, including useStateNumber, useStateBoolean, and useStateString. Each state function has the following common object properties:
- Name: The state name, which is used both internally and as an identifying label in the inspector.
- Initial Value: The initial value for the state when the component is dragged onto the canvas.
- Inspector: The kind of inspector that is used when a builder edits the state.
Pass the states to App.tsx by replacing the <App/> in the return statement with the following:
<App
    rowHeight={rowHeight}
    sortFeature={sortFeature}
    filterFeature={filterFeature}
    cellEditFeature={cellEditFeature}
    rowEditFeature={rowEditFeature}
    cellMenuFeature={cellMenuFeature}
/>
Next, replace the App function in src/App.tsx with the following:
function App(
    {
        rowHeight,
        sortFeature,
        filterFeature,
        cellEditFeature,
        rowEditFeature,
        cellMenuFeature,
    } :
    {
        rowHeight: number;
        sortFeature: boolean;
        filterFeature: boolean;
        cellEditFeature: boolean;
        rowEditFeature: boolean;
        cellMenuFeature: boolean;
    }) {

    return (
        <>
        <BryntumGrid
            {...gridProps}
            rowHeight={rowHeight}
            sortFeature={sortFeature}
            filterFeature={filterFeature}
            cellEditFeature={cellEditFeature}
            rowEditFeature={rowEditFeature}
            cellMenuFeature={cellMenuFeature}
            />
        </>
    );
}
This connects each feature with a Retool UI value. The values passed in here will be managed in the Retool UI.
Once the dev server finishes the build, go to your app and click on the Bryntum Grid component displayed on the canvas. On the right-hand side, you should be able to see the variables you added.
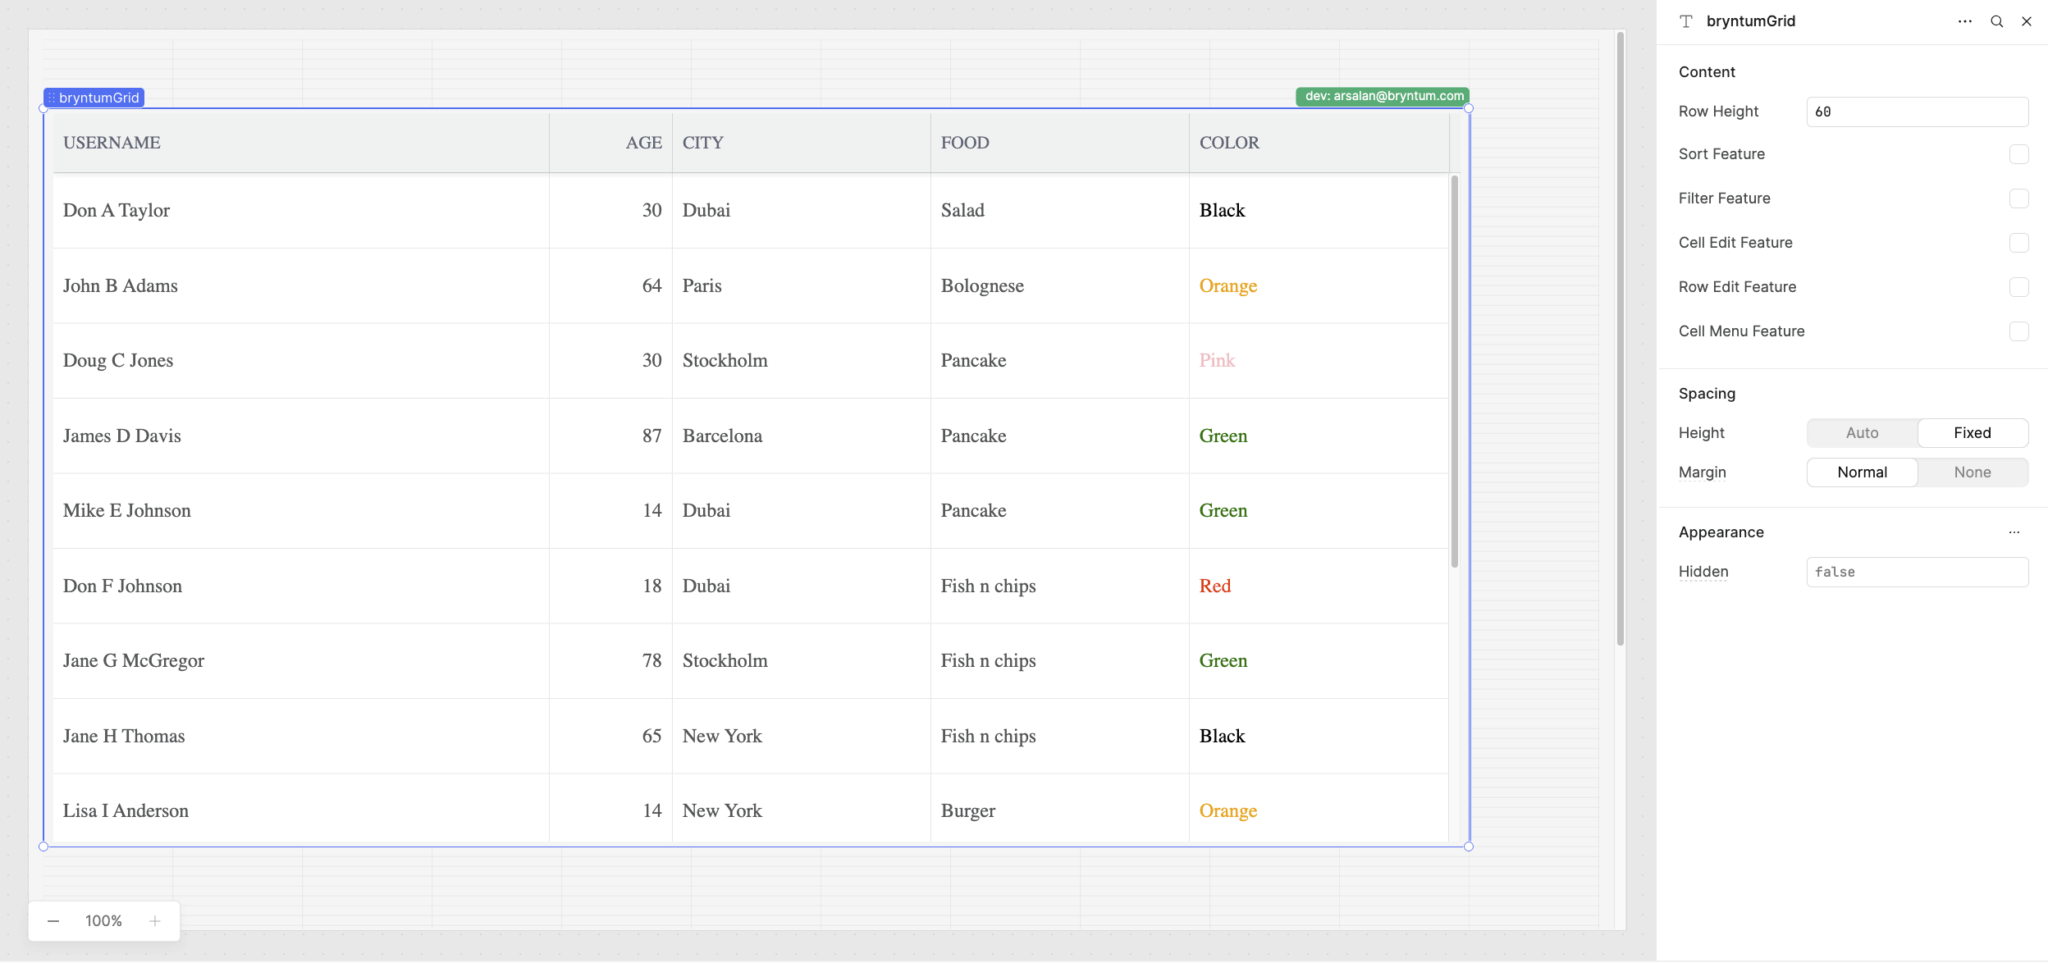
Changes to any of these values will be reflected in the Bryntum Grid.
Changing themes via the Retool UI
We can also change the Bryntum Grid theme. In a simple React project, you can use DomHelper’s setTheme function, but this doesn’t work for Retool. We’ll manually create a <link.../> and insert it in the header instead.
In src/index.tsx, first create a Retool state that controls the theme:
const [theme, _setTheme] = Retool.useStateEnumeration({
    name: 'Theme',
    initialValue: 'Stockholm',
    inspector : 'select',
    enumDefinition: ['stockholm', 'material', 'classic', 'classic-dark', 'classic-light'],
  });
Next, create a useEffect function:
  useEffect(() => {
    const link = document.createElement("link");
    link.rel = "stylesheet";
    link.href = `https://bryntum.com/products/grid/build/grid.${theme}.css`;
    link.setAttribute("data-bryntum-theme", "");
    document.head.appendChild(link);

    return () => {
      document.head.removeChild(link);
    };
  }, [theme]);
Then, import it:
import { useEffect } from 'react'In the previous code block, we create a <link /> element, assign a theme link to it, and attach it to the header. The theme href has an online link, because Retool doesn’t work with node_modules files in the app.
Wait for the changes to be reflected in your Retool app. You should see a Theme dropdown menu below the variables you added previously.
You may notice that the styling breaks down while the new theme is loading.
The initial theme change can take a few seconds because the themes are fetched from a remote URL (bryntum.com) instead of from node_modules, which isn’t supported by Retool.
Deploying your custom component
When you’ve finished developing the custom component, you can deploy it:
npx retool-ccl deployThis pushes an immutable version of the component to Retool.
Your component library is now ready for production deployment. To use it in public applications, navigate to Settings > Custom Component Libraries and enable the Public option. This makes the library accessible to anyone with the public application URL.
You can use it in your app and publish your app on Retool.
Next steps
You can integrate other Bryntum components, such as the Gantt or the Scheduler, just as easily. Retool’s flexible UI lets you build fully interactive interfaces around any Bryntum component, enabling advanced data visualization and control within your internal tools.
If you’re new to Bryntum, we offer a free 45-day trial so you can explore our Grid, Gantt, Scheduler, and other components without limitations.
Need help? Ask questions, share feedback, or get support whenever you need it on our active and developer-friendly community forum.